
-
Firstly, as a team, we met with Landen and his family. After determining that a toy tray is something the team wanted to move forward with we then start asking questions, taking measurements, and notes on what Landen and his family were looking for. Landen’s mother explained to us that Landen is a hyperactive kid, constantly moving around and full of energy. He loves his toys but he typically drops them on the floor. Landen and his family expressed that they would love some sort of tray that can hold his toys and prevent them from falling on the ground. They see the tray being used for a couple of hours at a time so it needed to be easily removable and not limit Landen’s ability to adjust himself and to move around the house freely. After speaking with Landen and his family we then moved to concept generation.
Initial Ideation Sketches and Measurements


-
We then met with Landen and his family for a second time. We tested our first prototype to see what Landen liked and disliked. At first glance, we realized that our prototype was way too big and would need to be adjusted to better fit Landen. We got feedback from Landen’s mother on increasing the height of the tray by an inch to allow for more legroom and increased comfortability for Landen. In our prototype we also had the profile of the tray follow along the armrests at the end of the arch. the arch is to make sure that the tray does not touch Landen’s feeding tube. But the extra flare was a stylistic choice that Landen’s mother did point out as an inhibitor to his overall mobility and ability to adjust himself in his seat. After absorbing all of this amazing feedback we then took new measurements and began to adjust the prototype accordingly.


Quick Reference Mockup
We decided to create a mockup of Landen’s armrest to better gauge the distance between the two. One of the great challenges for this project is the limited opportunity to gather information from the client. Creating the mock-up definitely helped us gather better and more accurate information for creating and finalizing this project.

Final Ideation Sketch

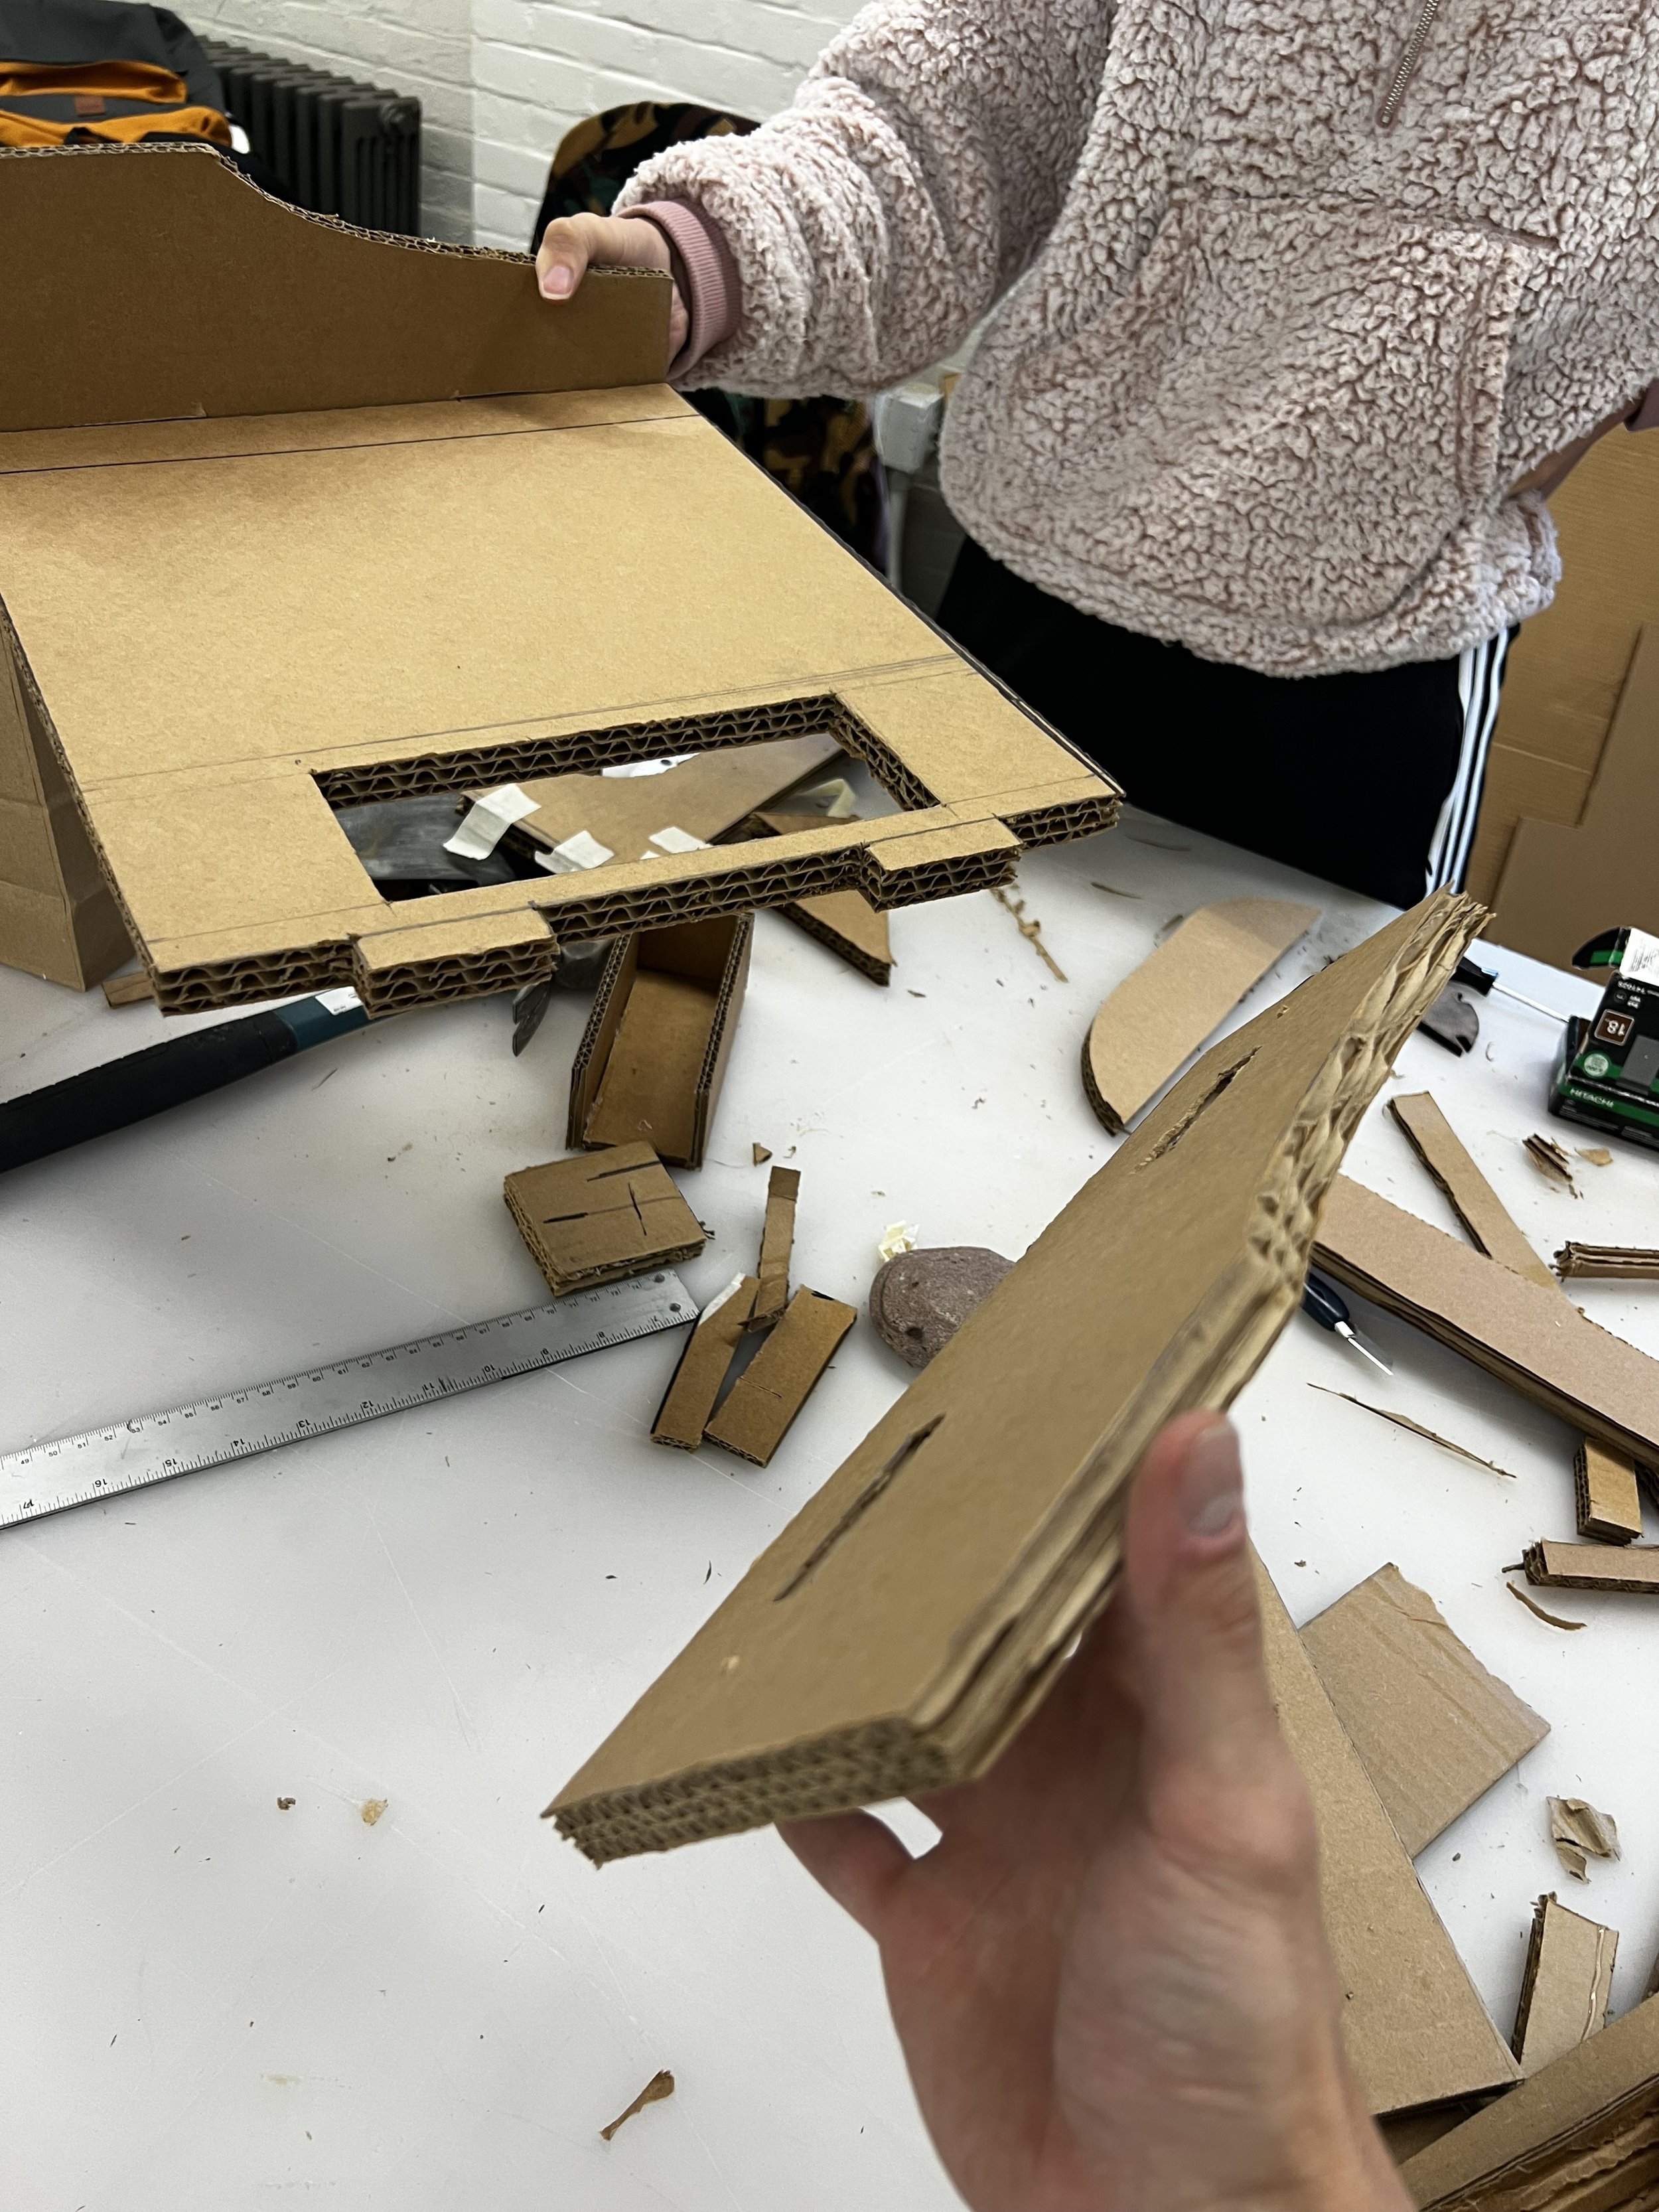
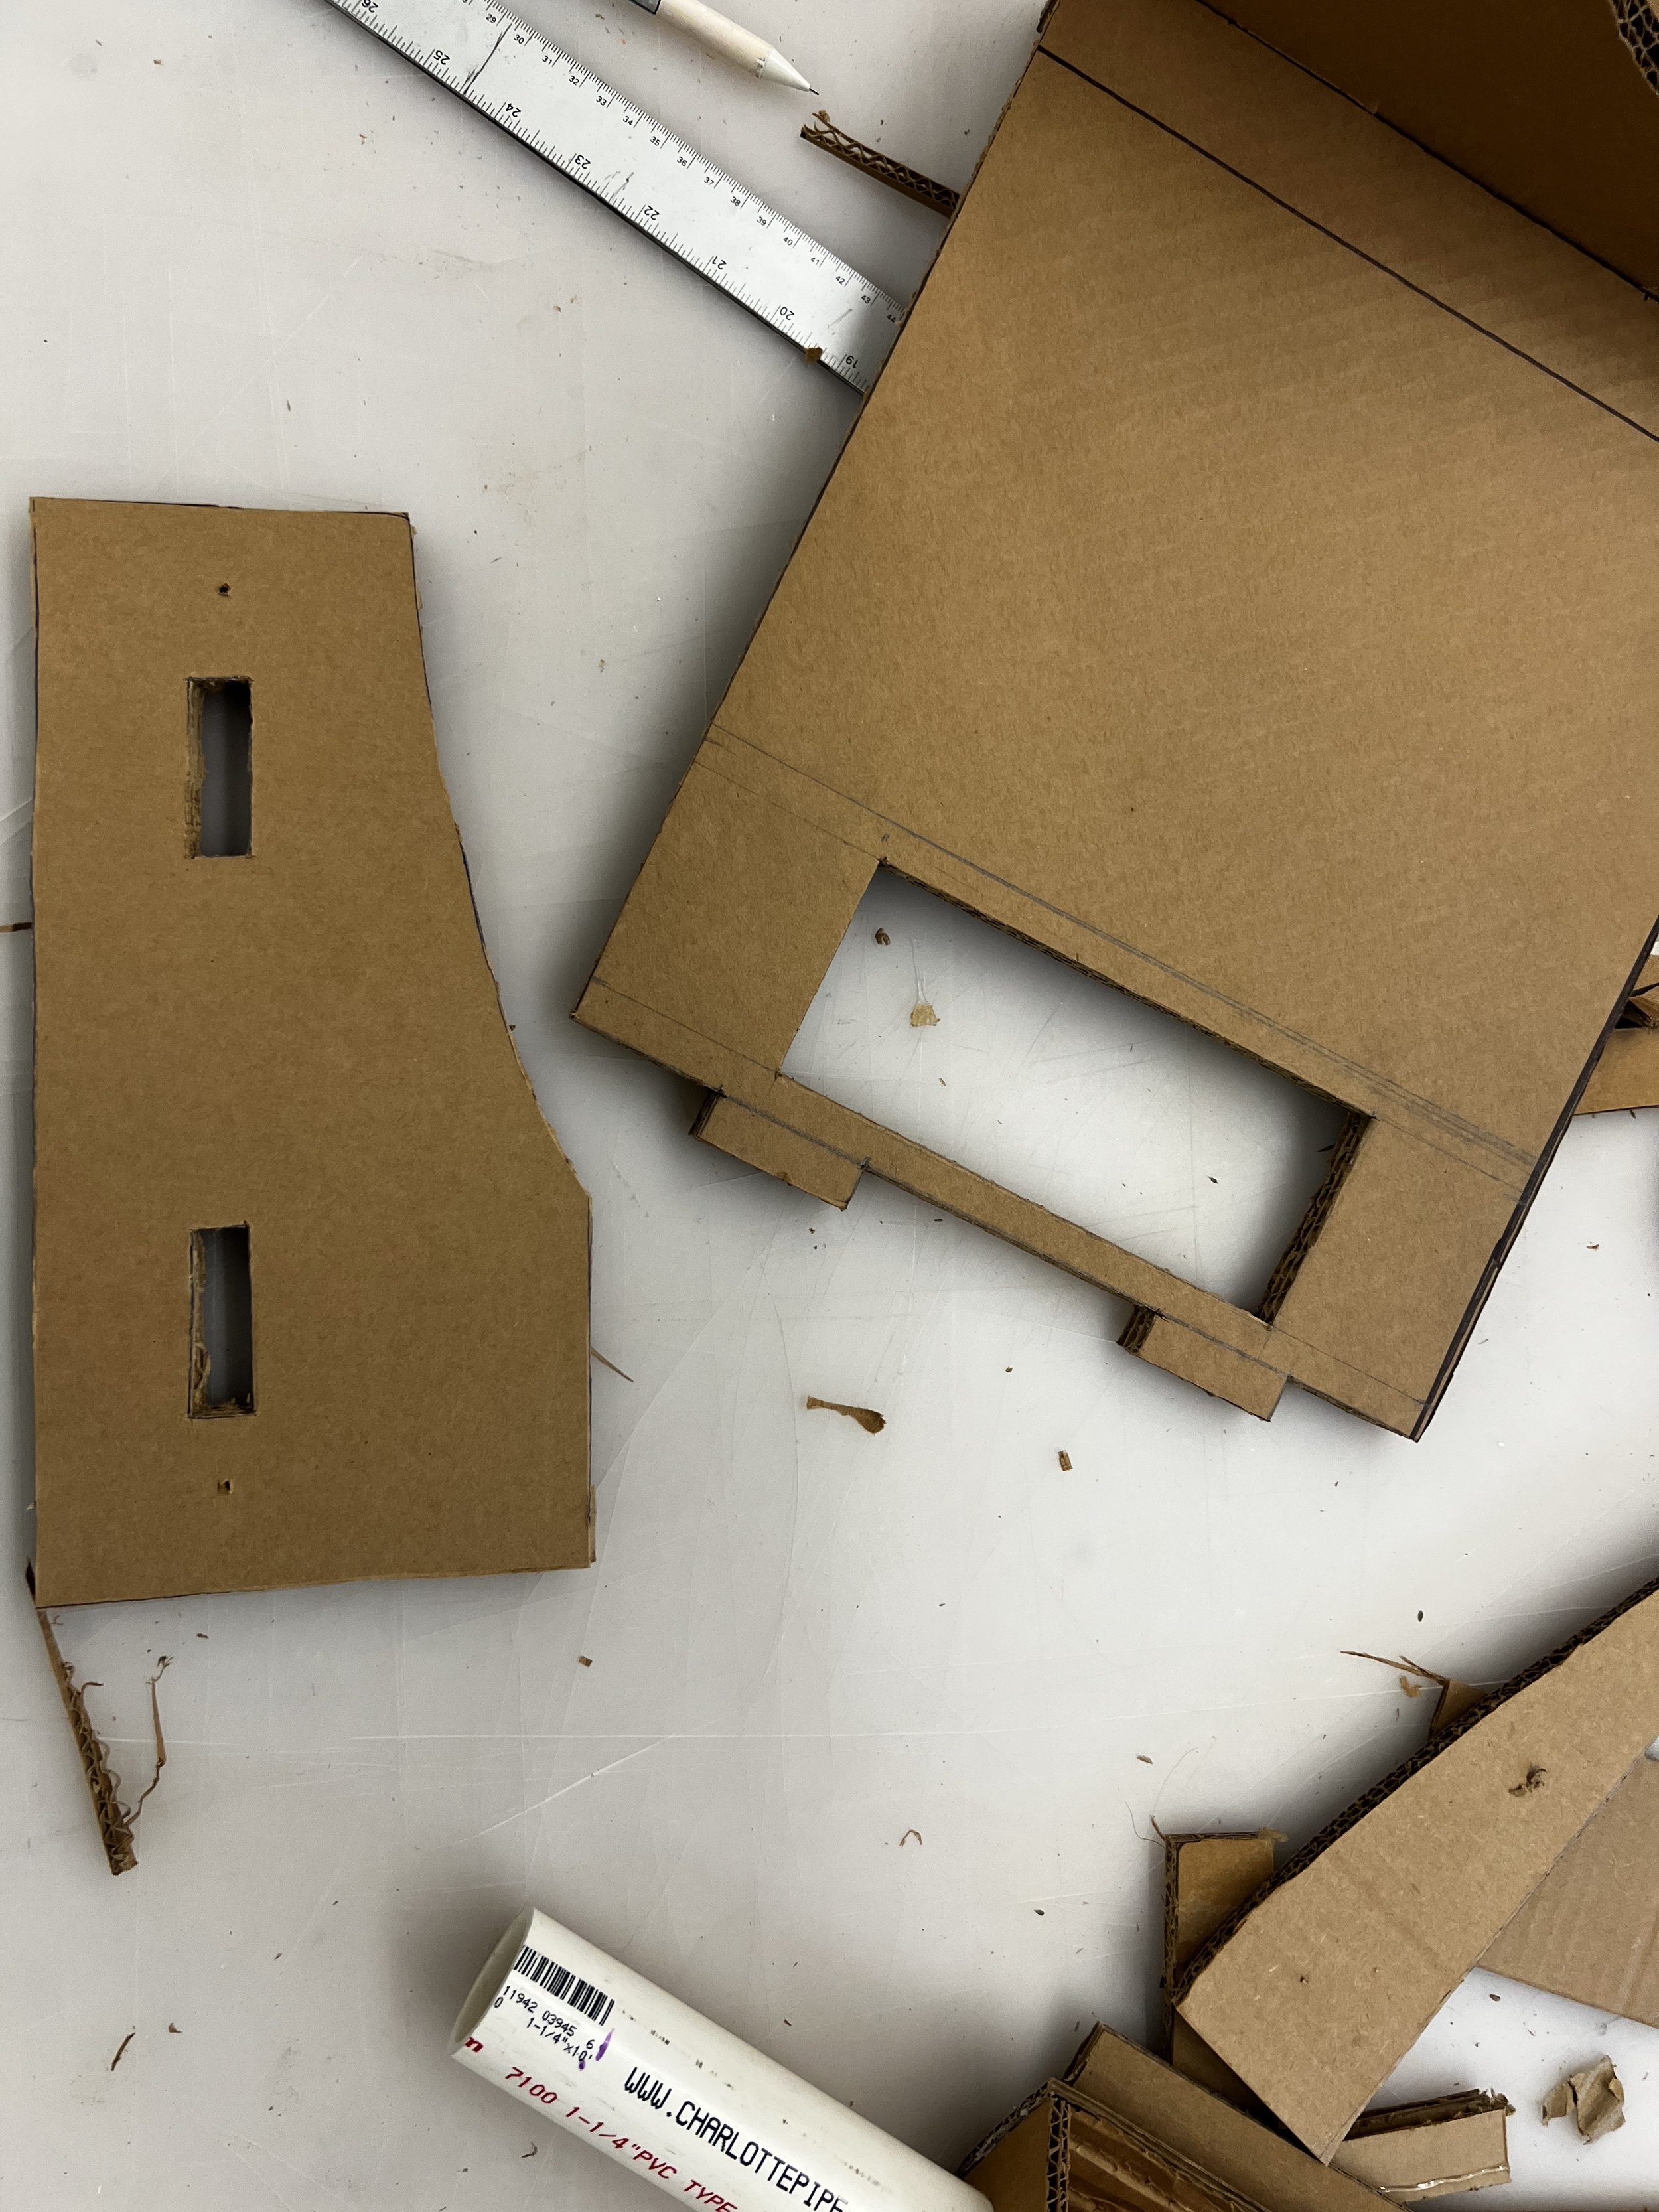
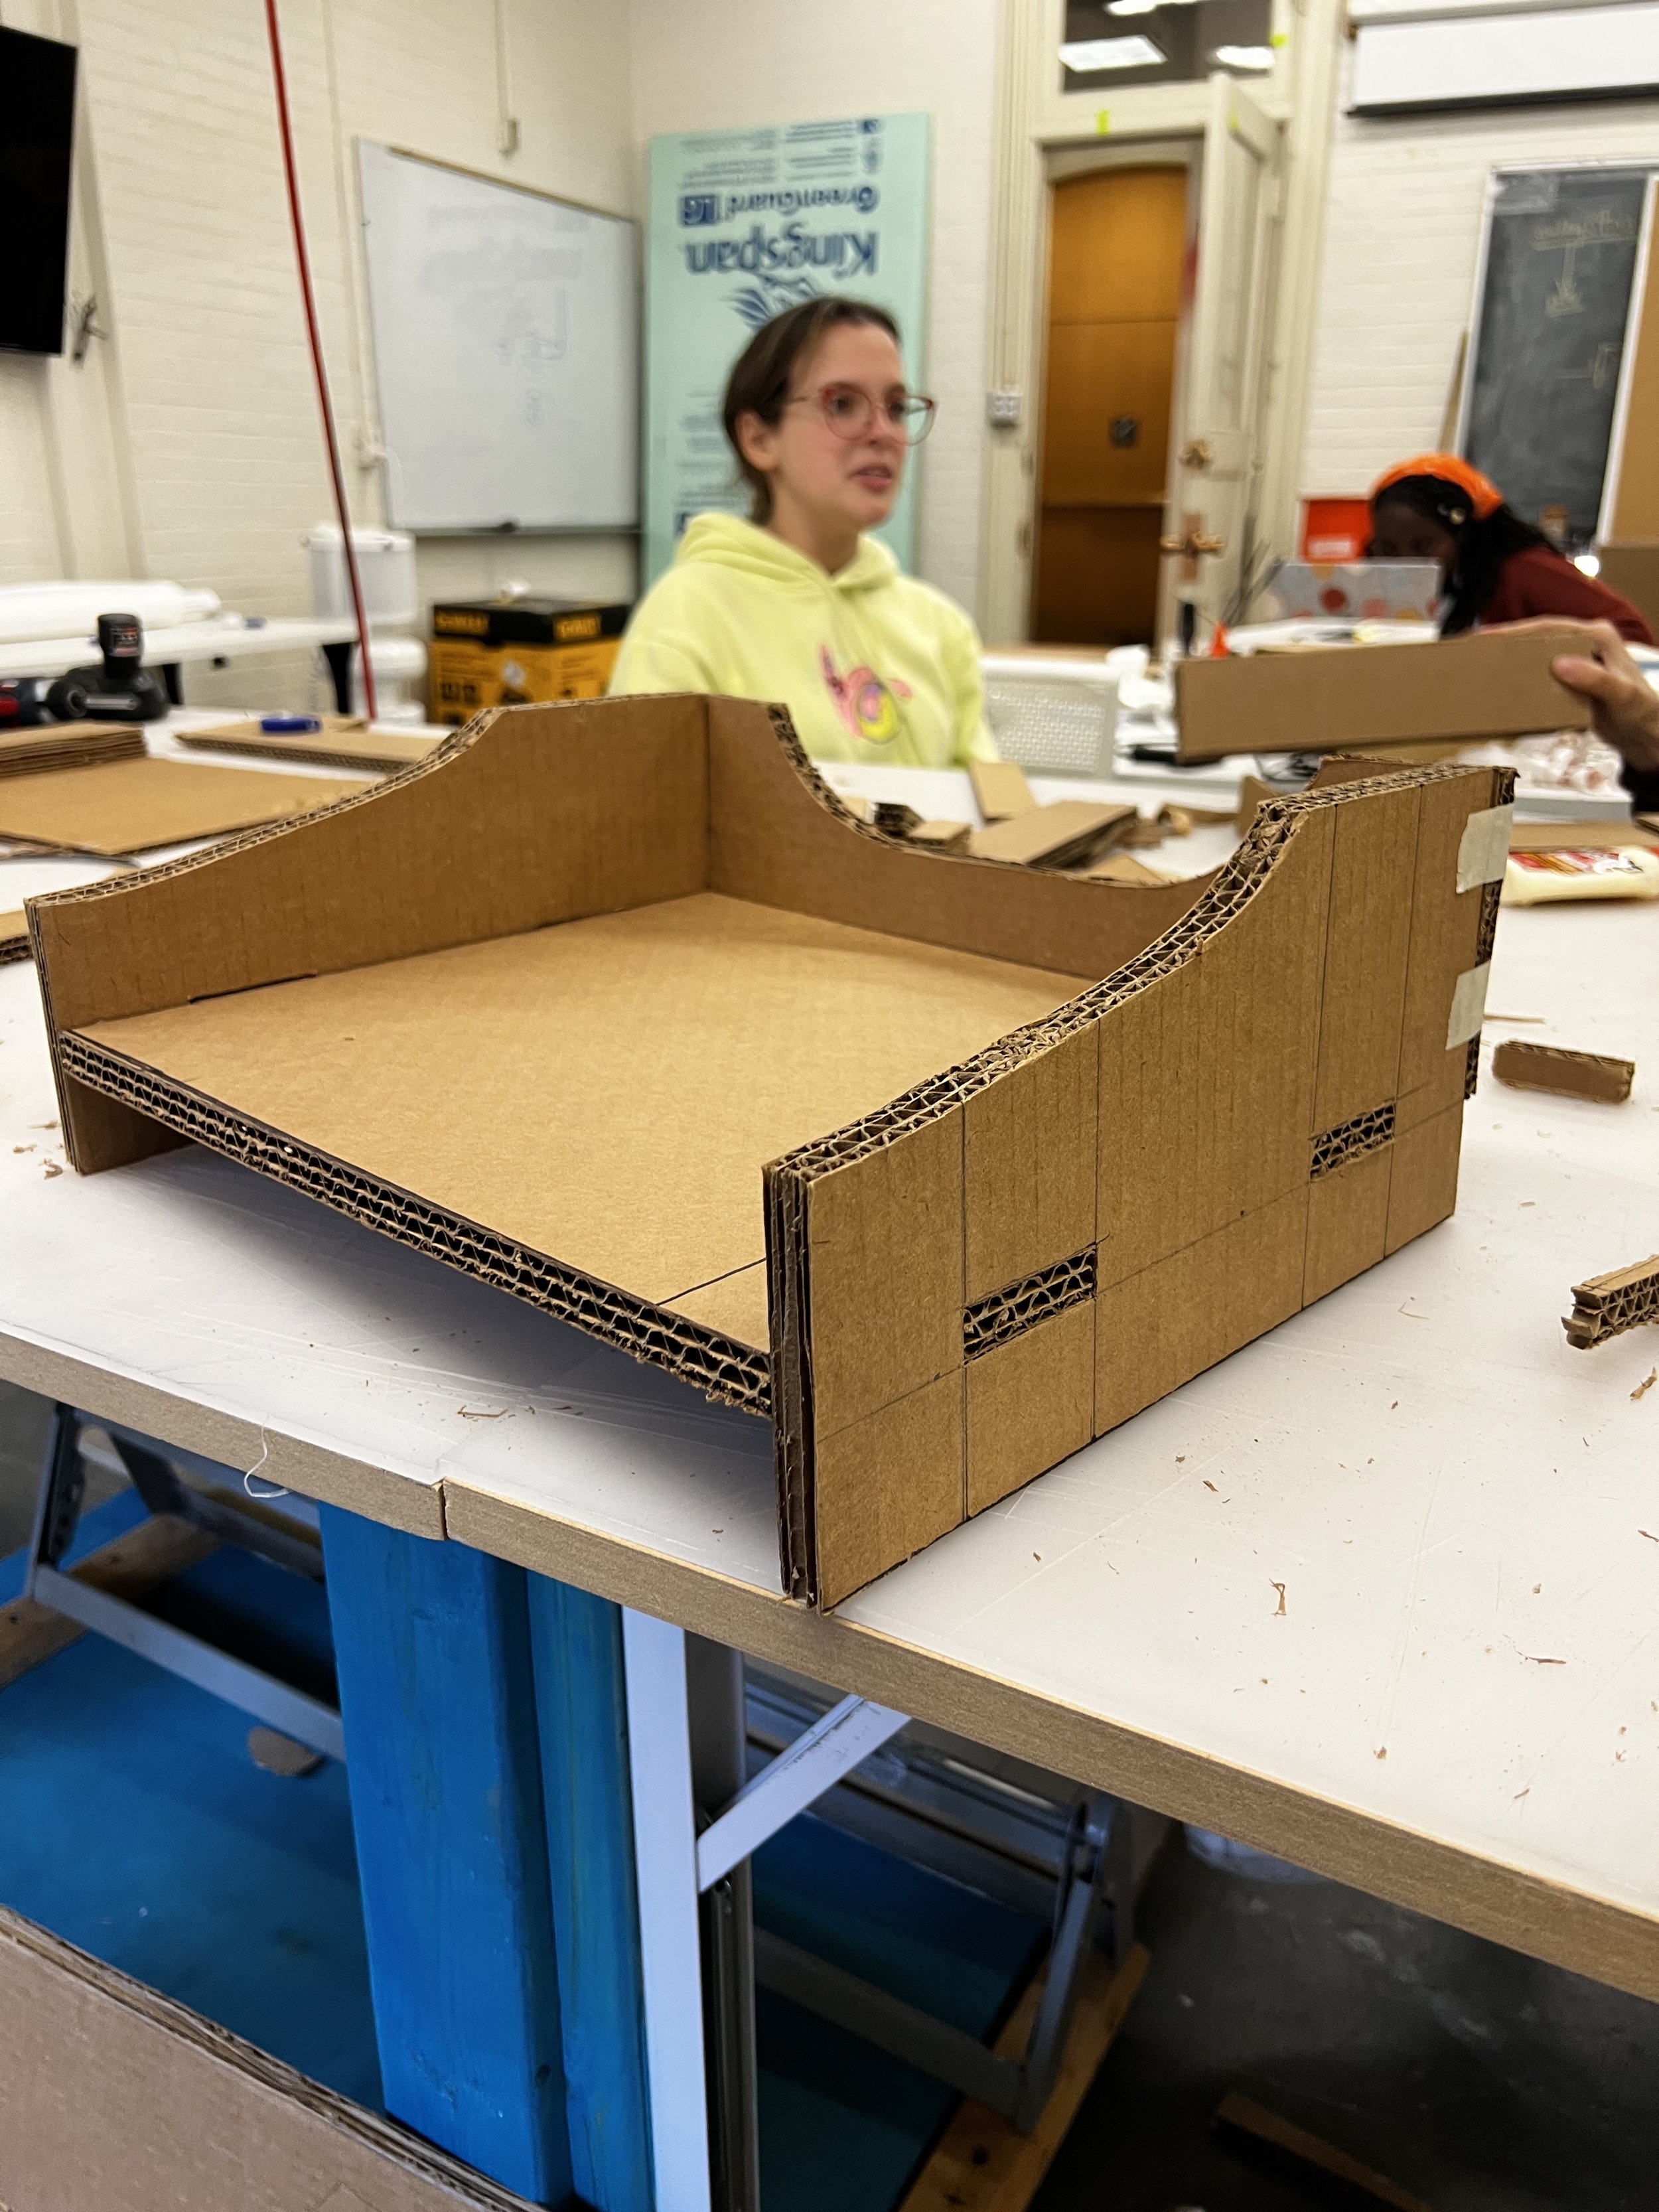
For the storage aspect of Landen’s toys, we decided to place them on the left inside of the tray. This minimizes the opportunity for Landen’s toys to fall to the floor because he is left-hand dominant. We are discussing the addition of a 3D-printed tray for the inside of the compartment for easy cleaning and a better finish. In solving the problem of connecting the outer walls to the main tray we decided to use the joints shown above with the addition of glue and screws for extra strength.
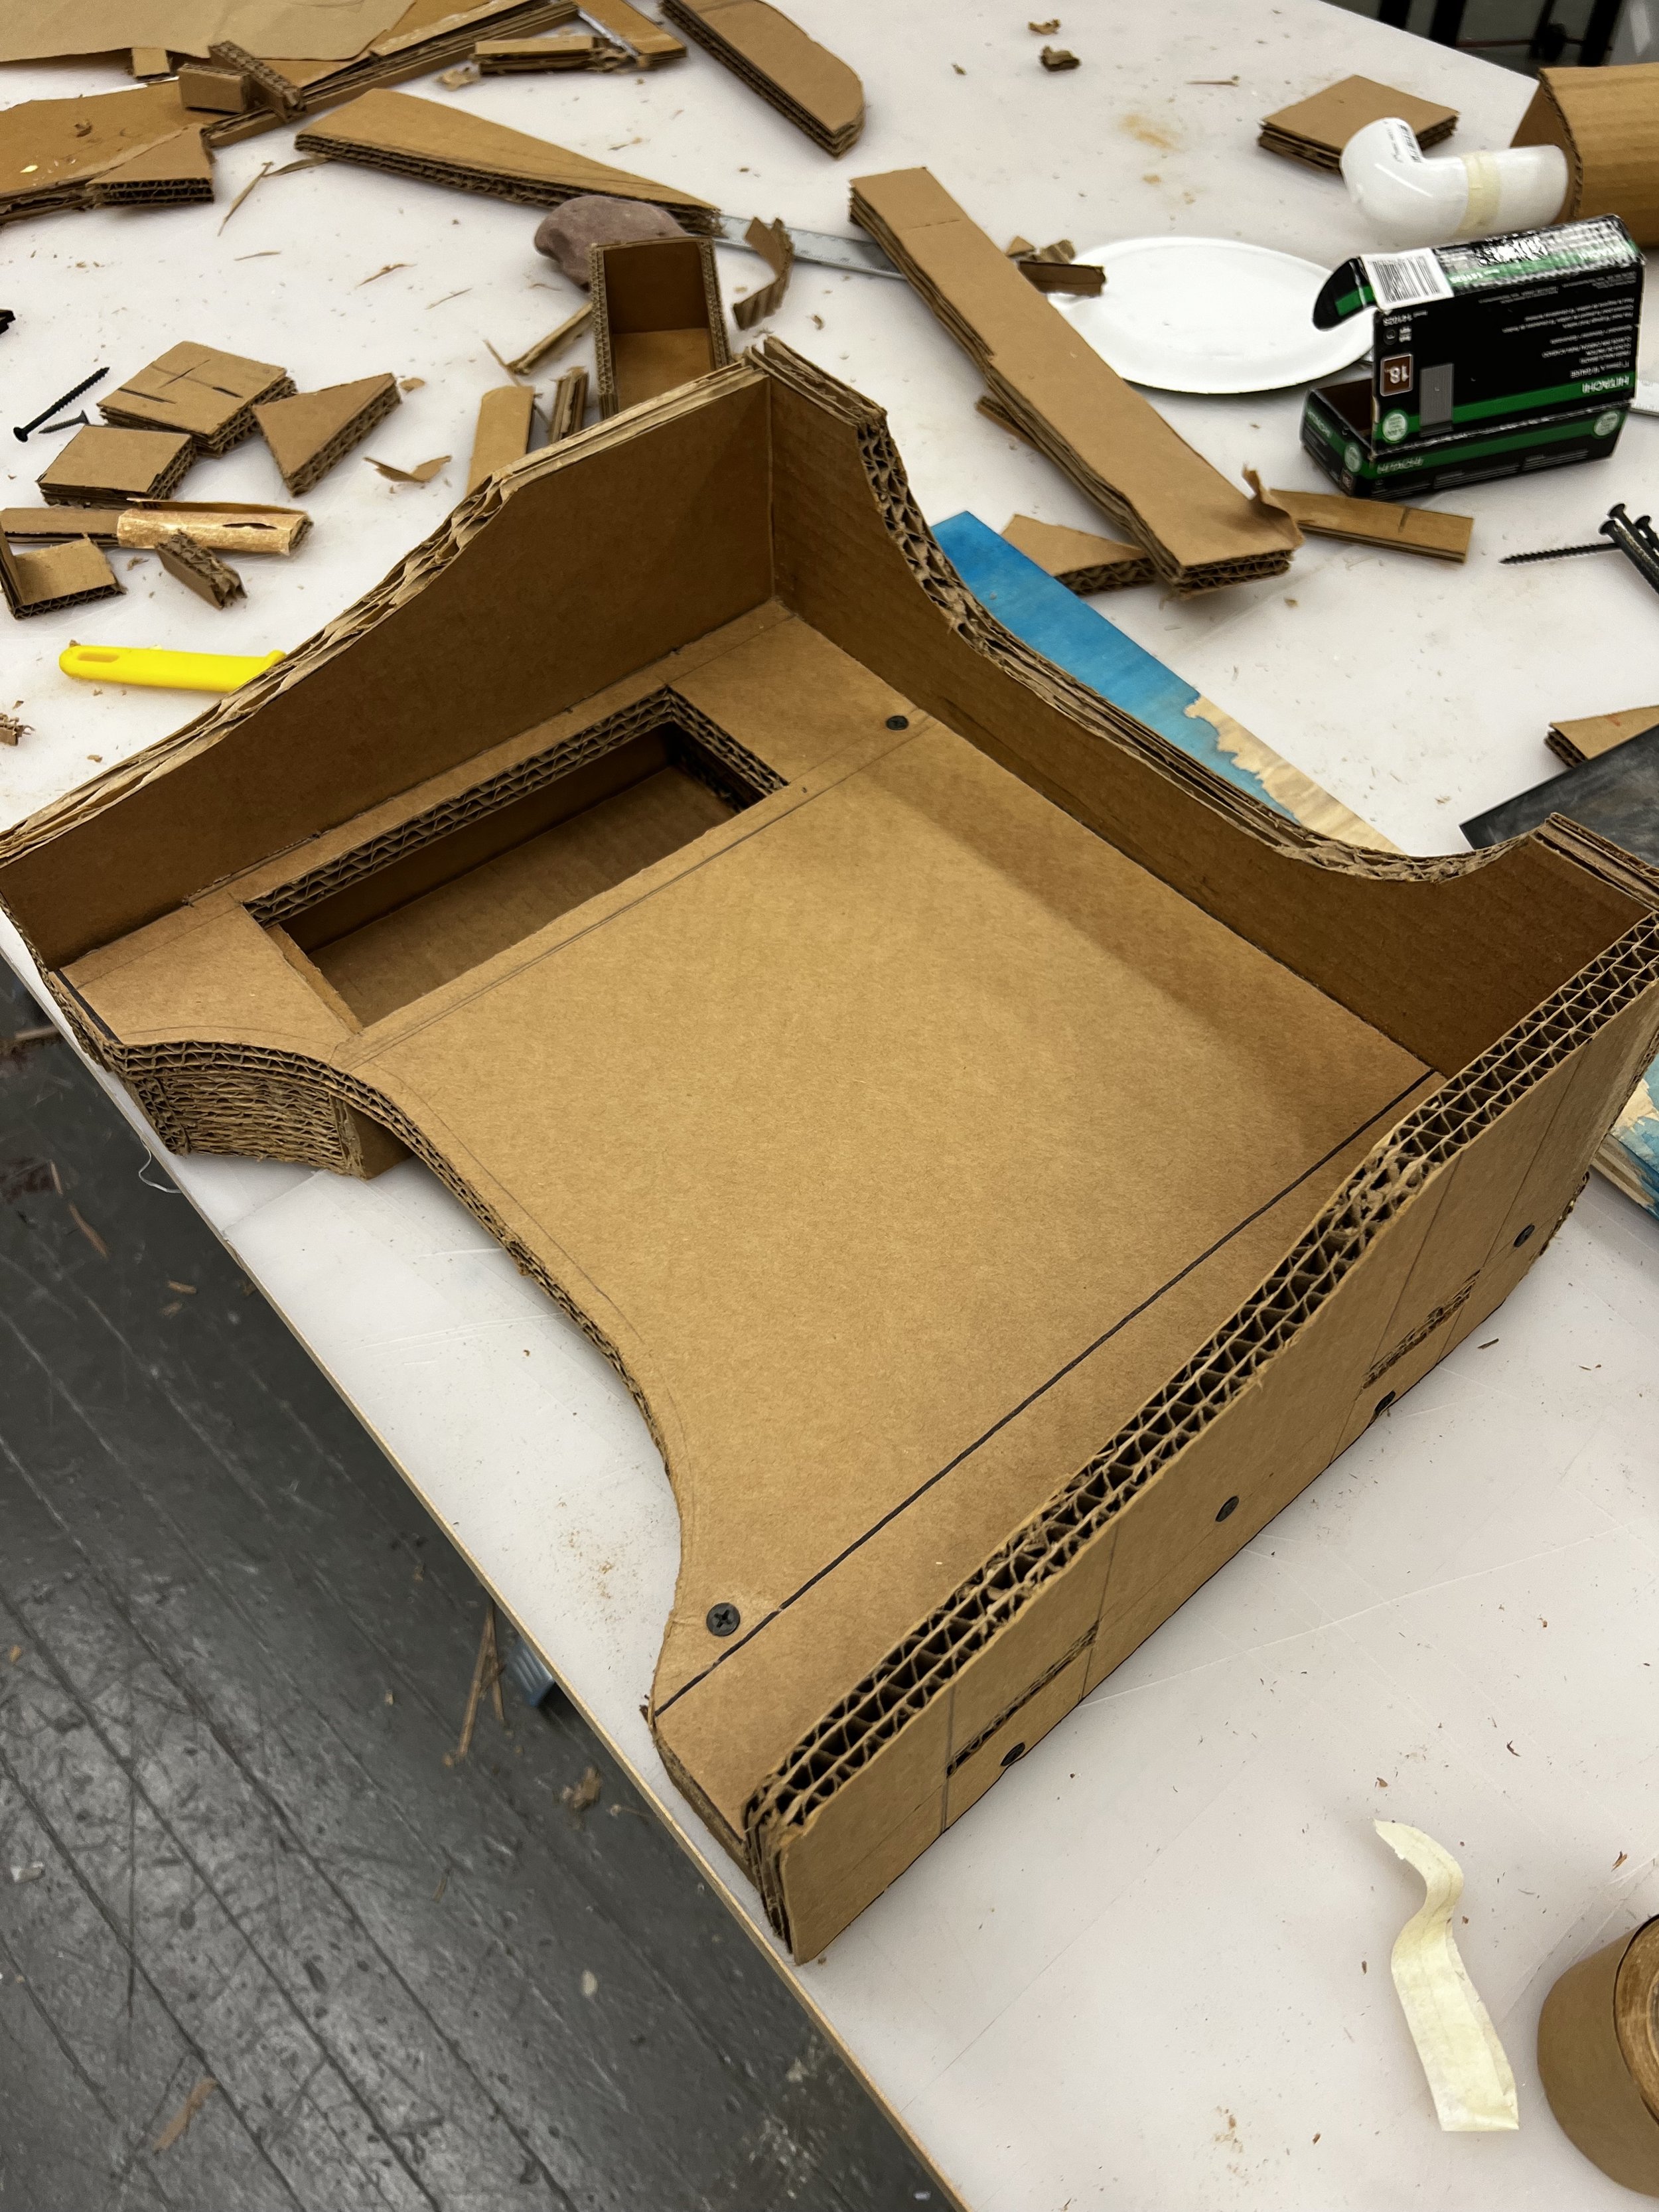
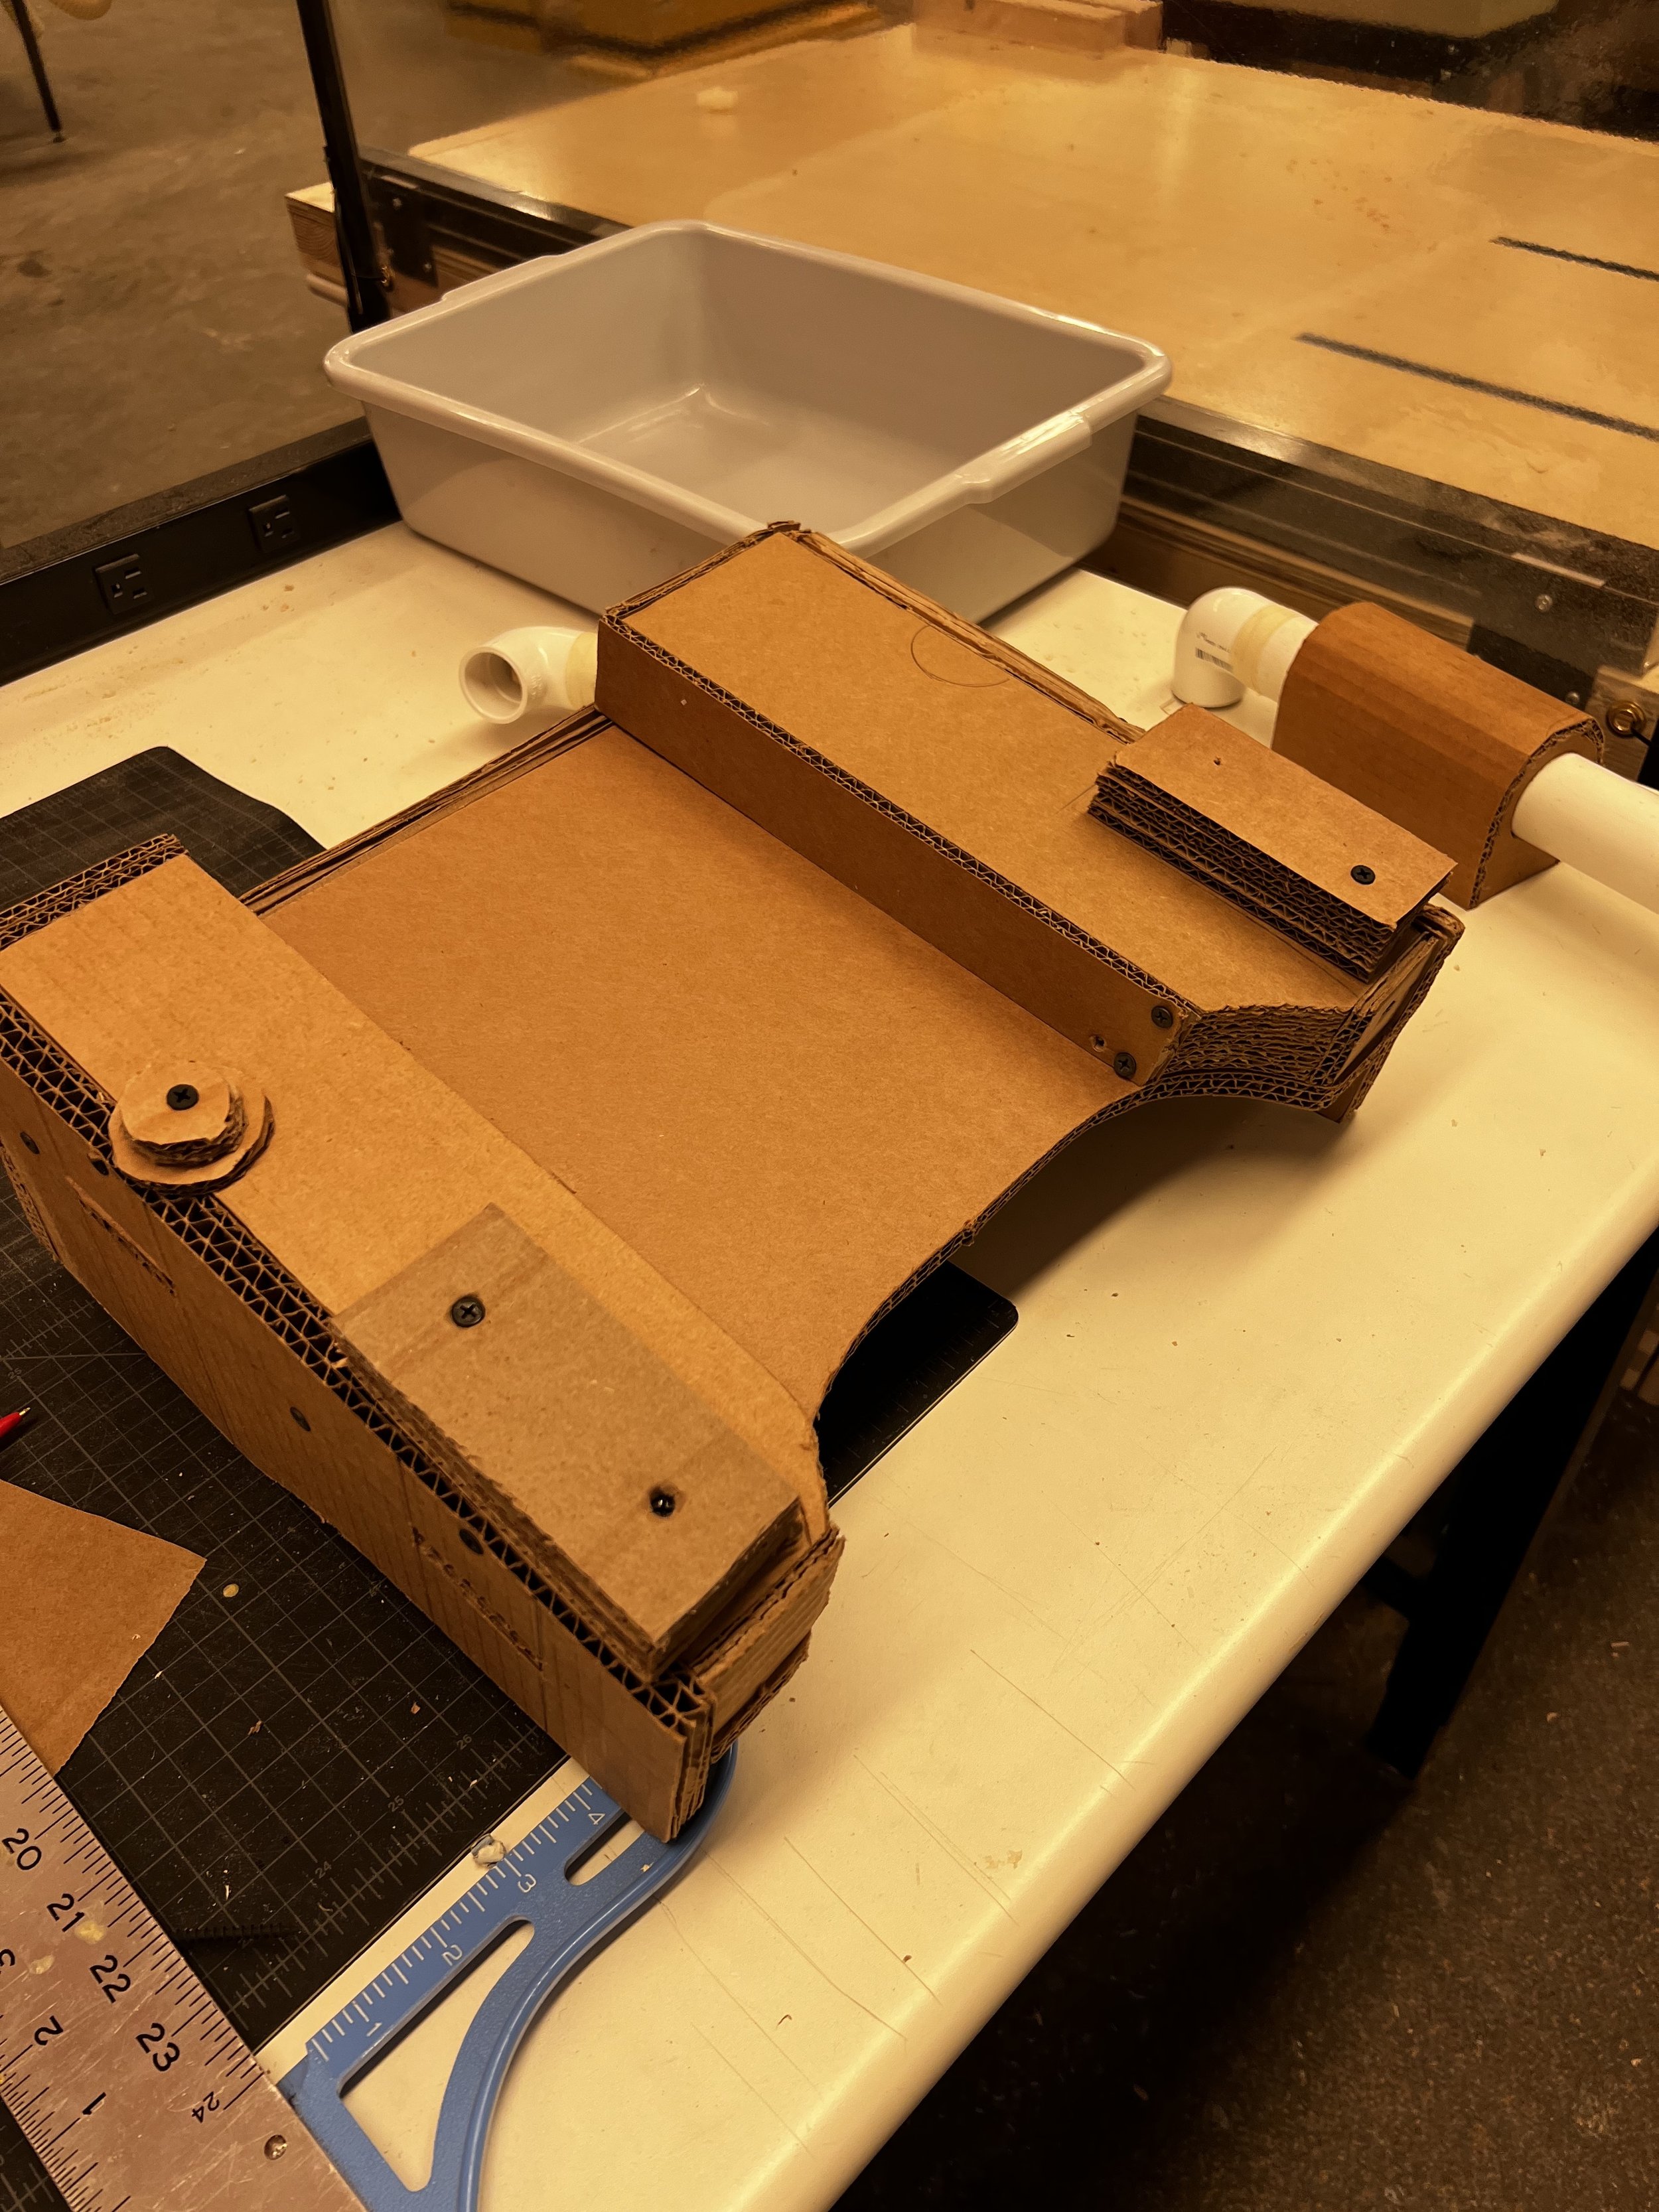
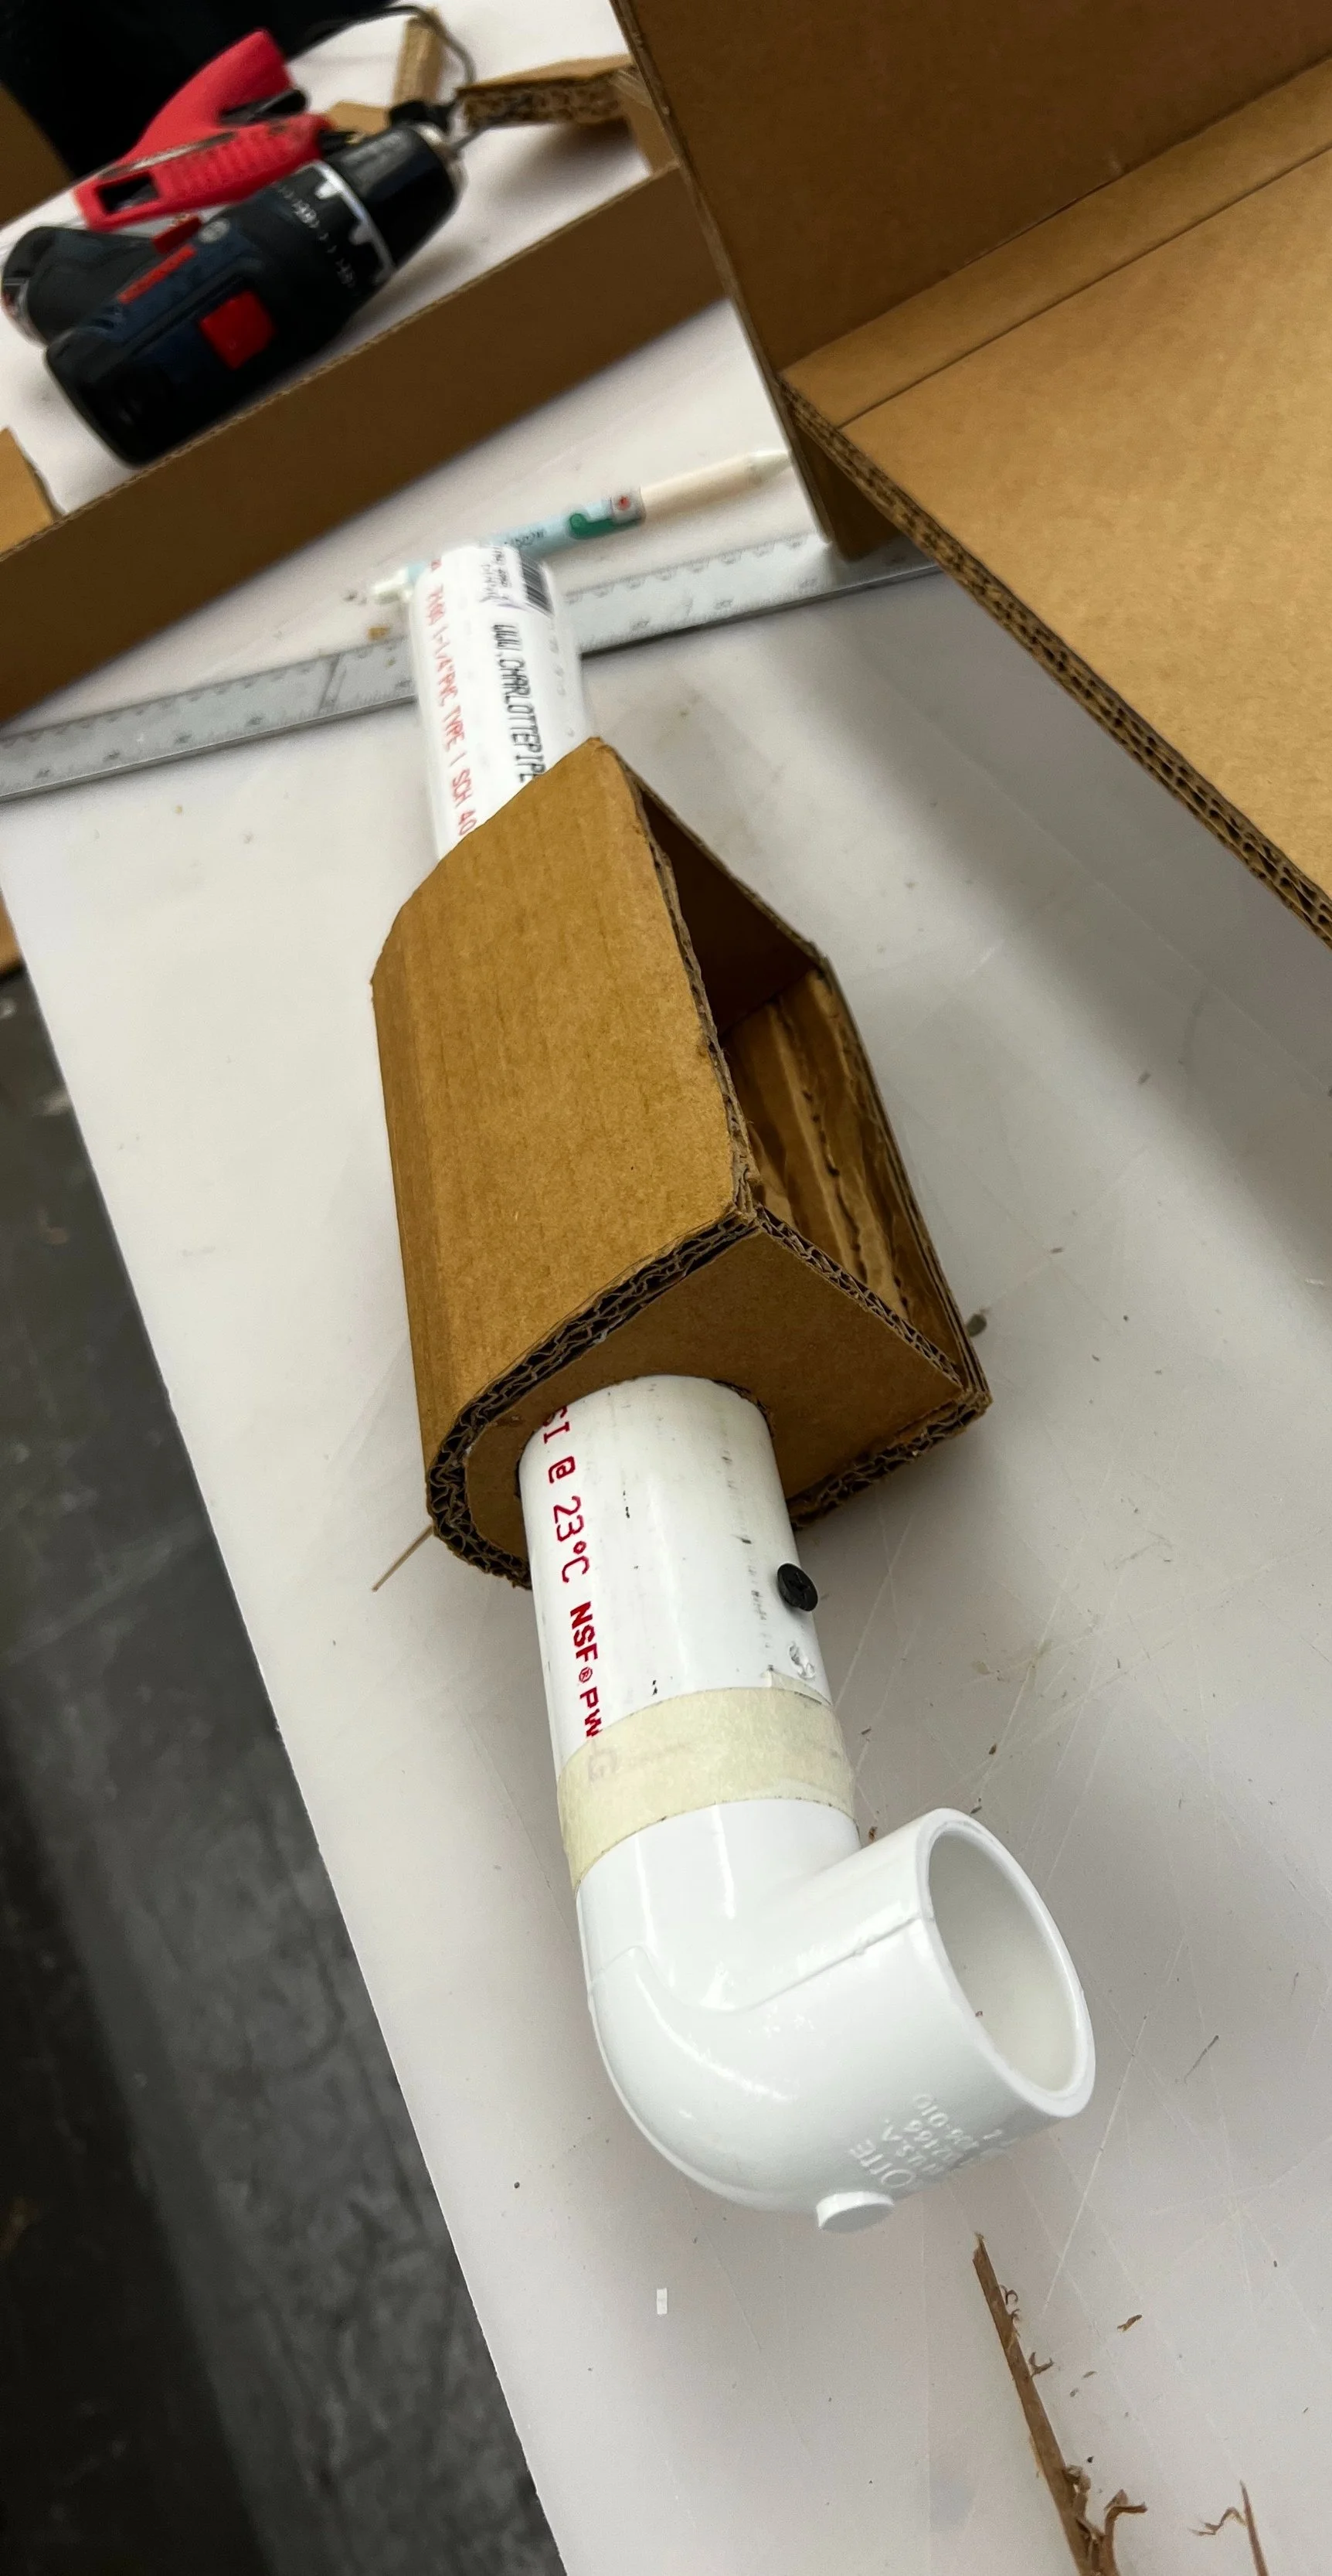
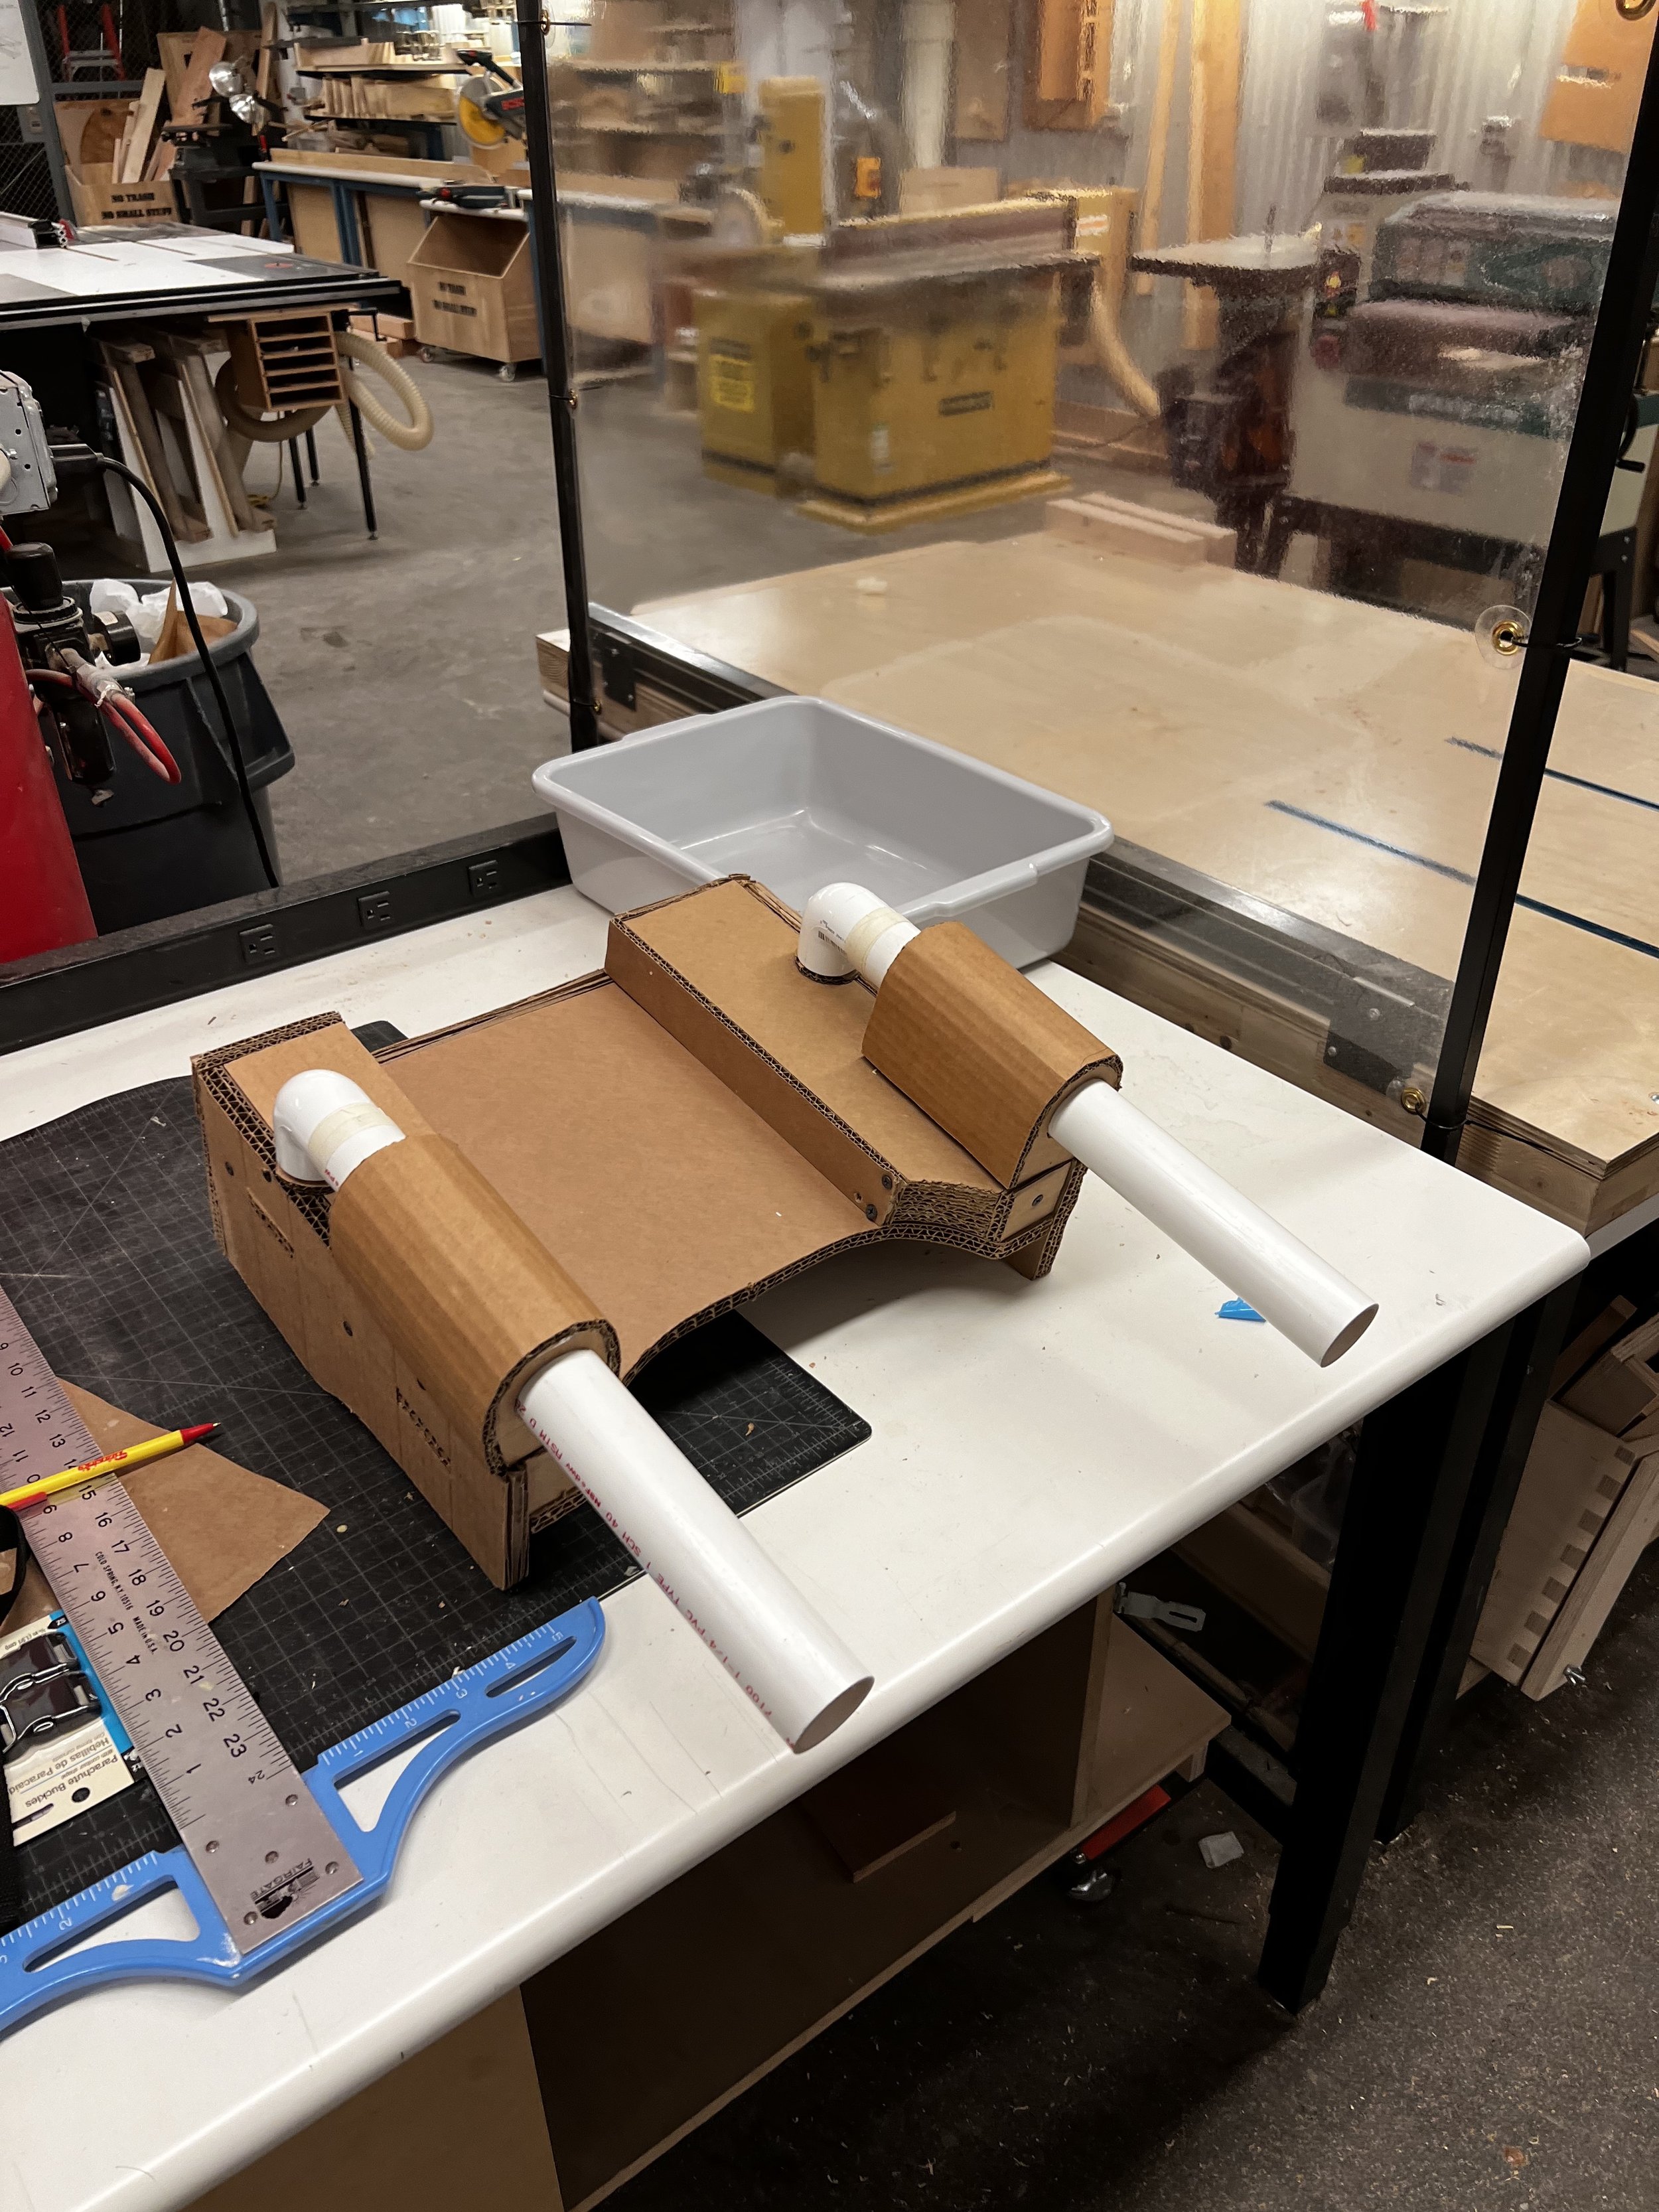
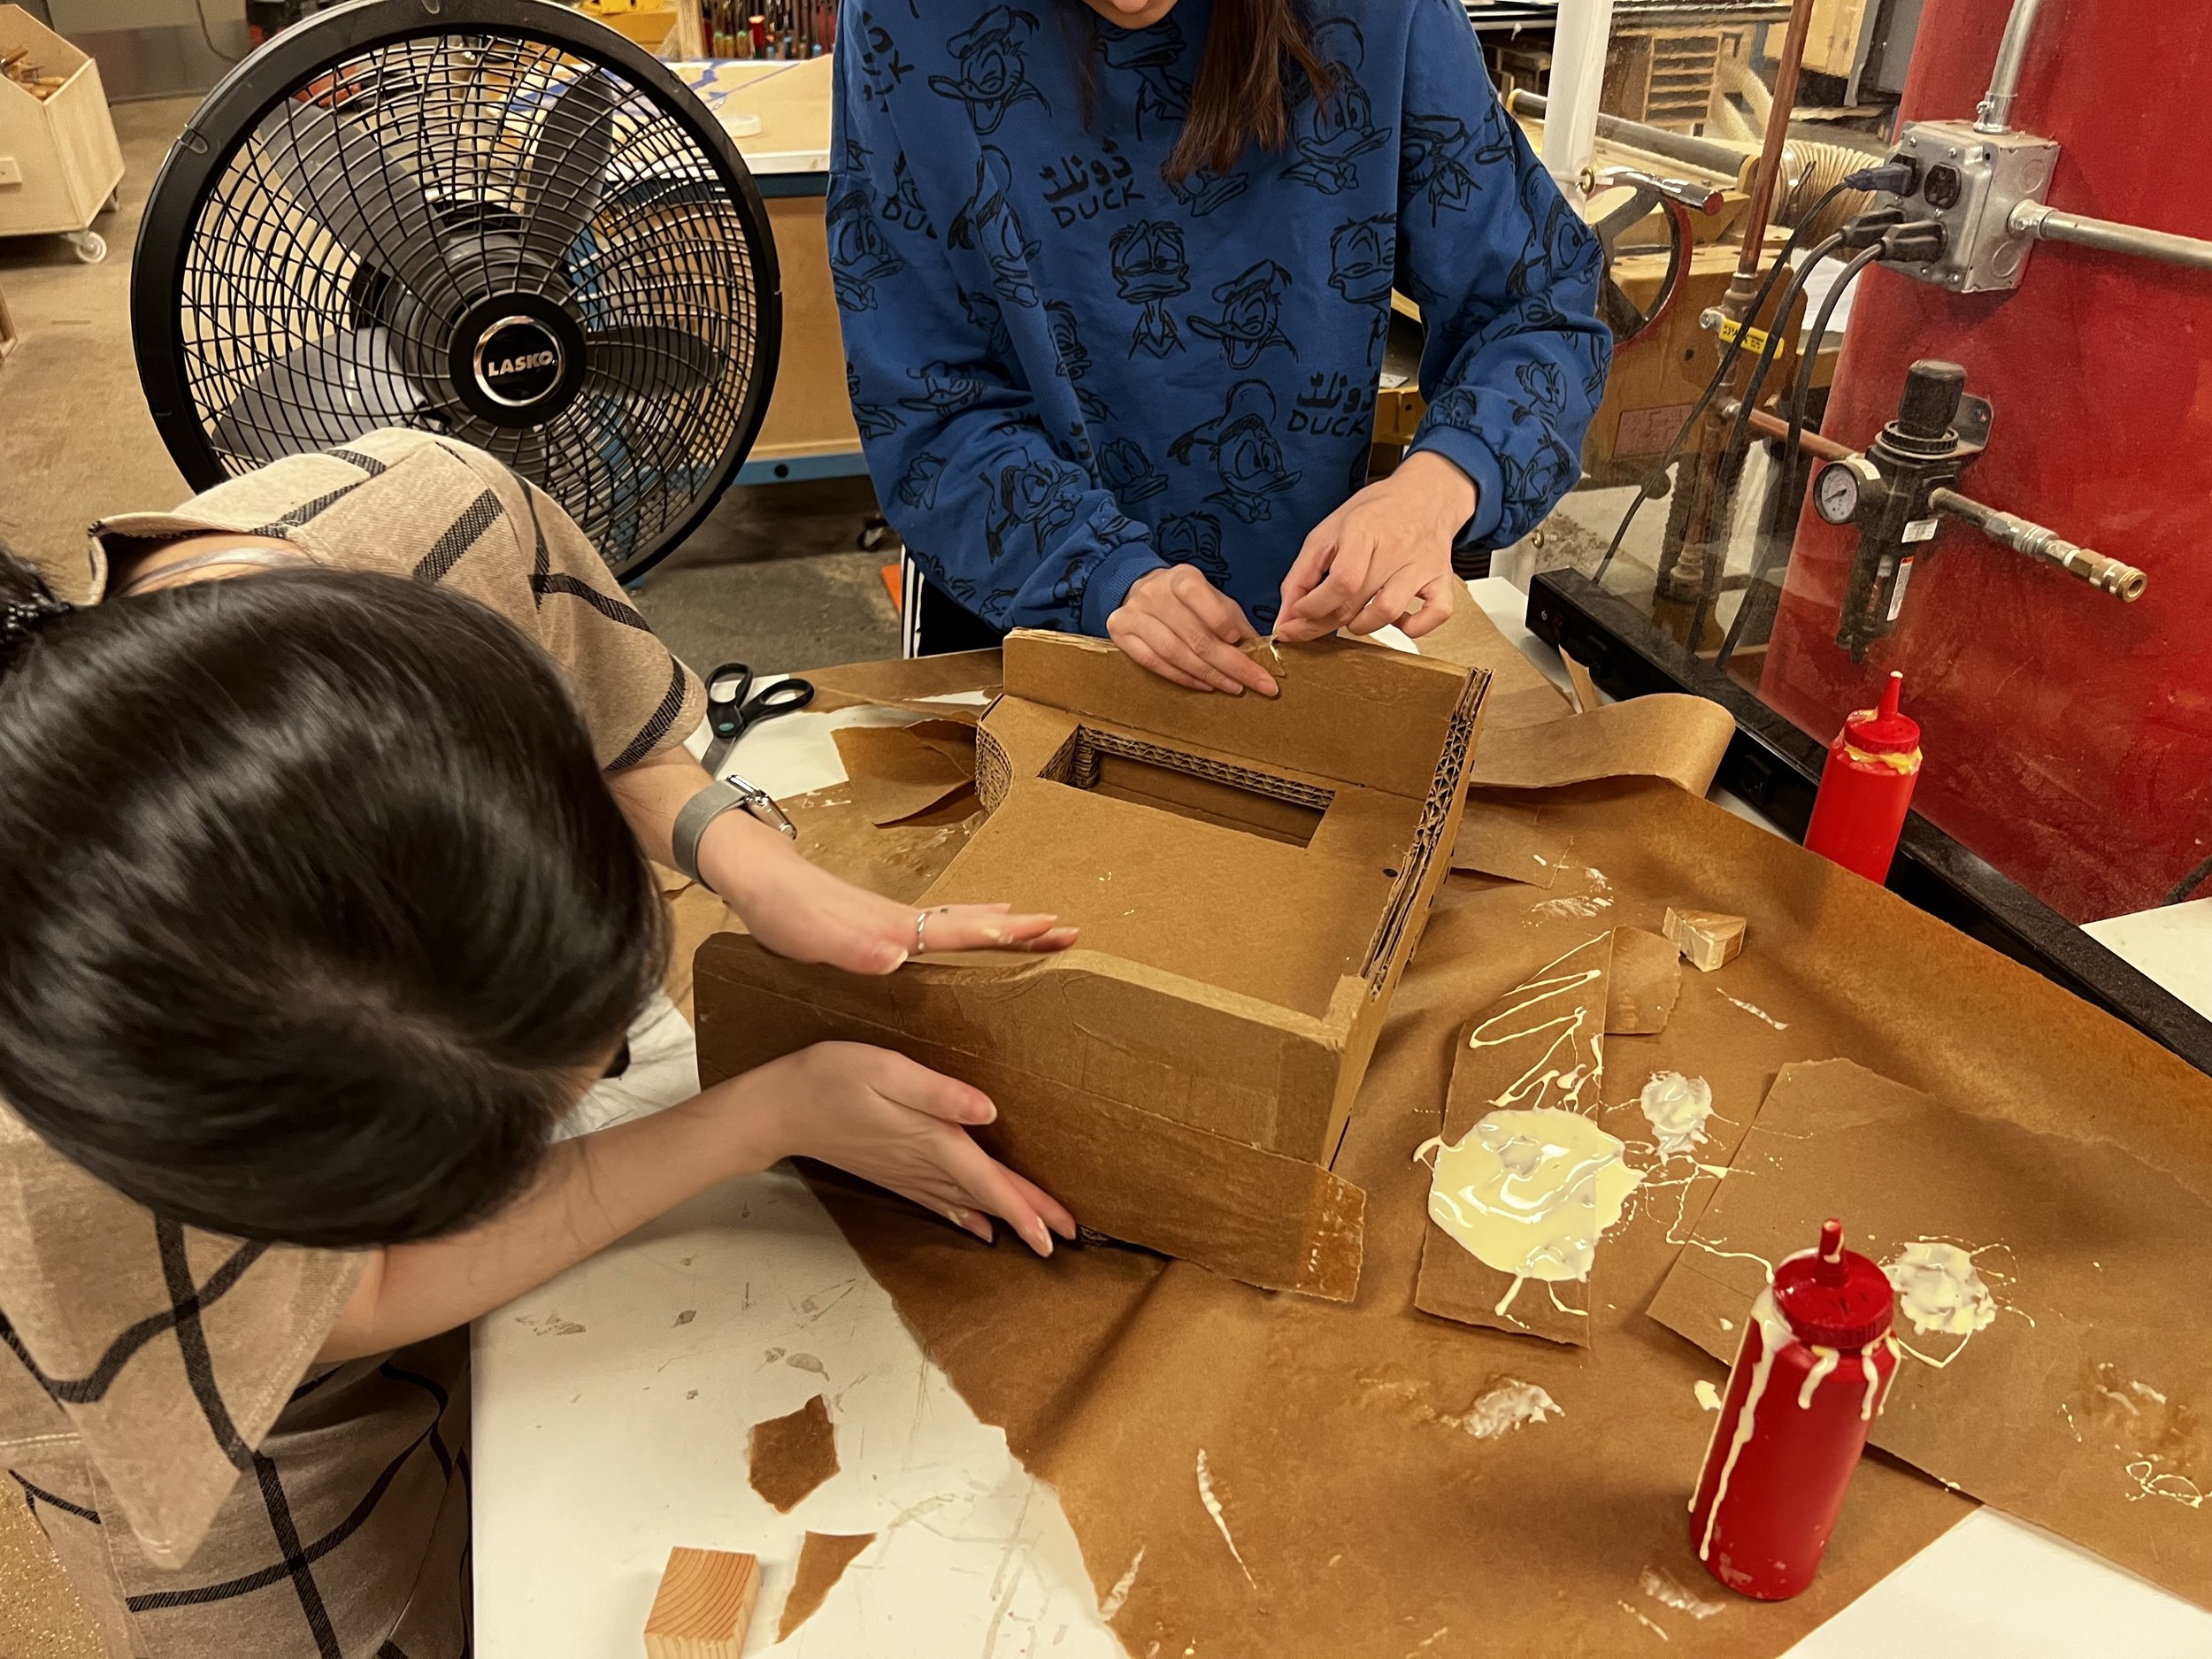
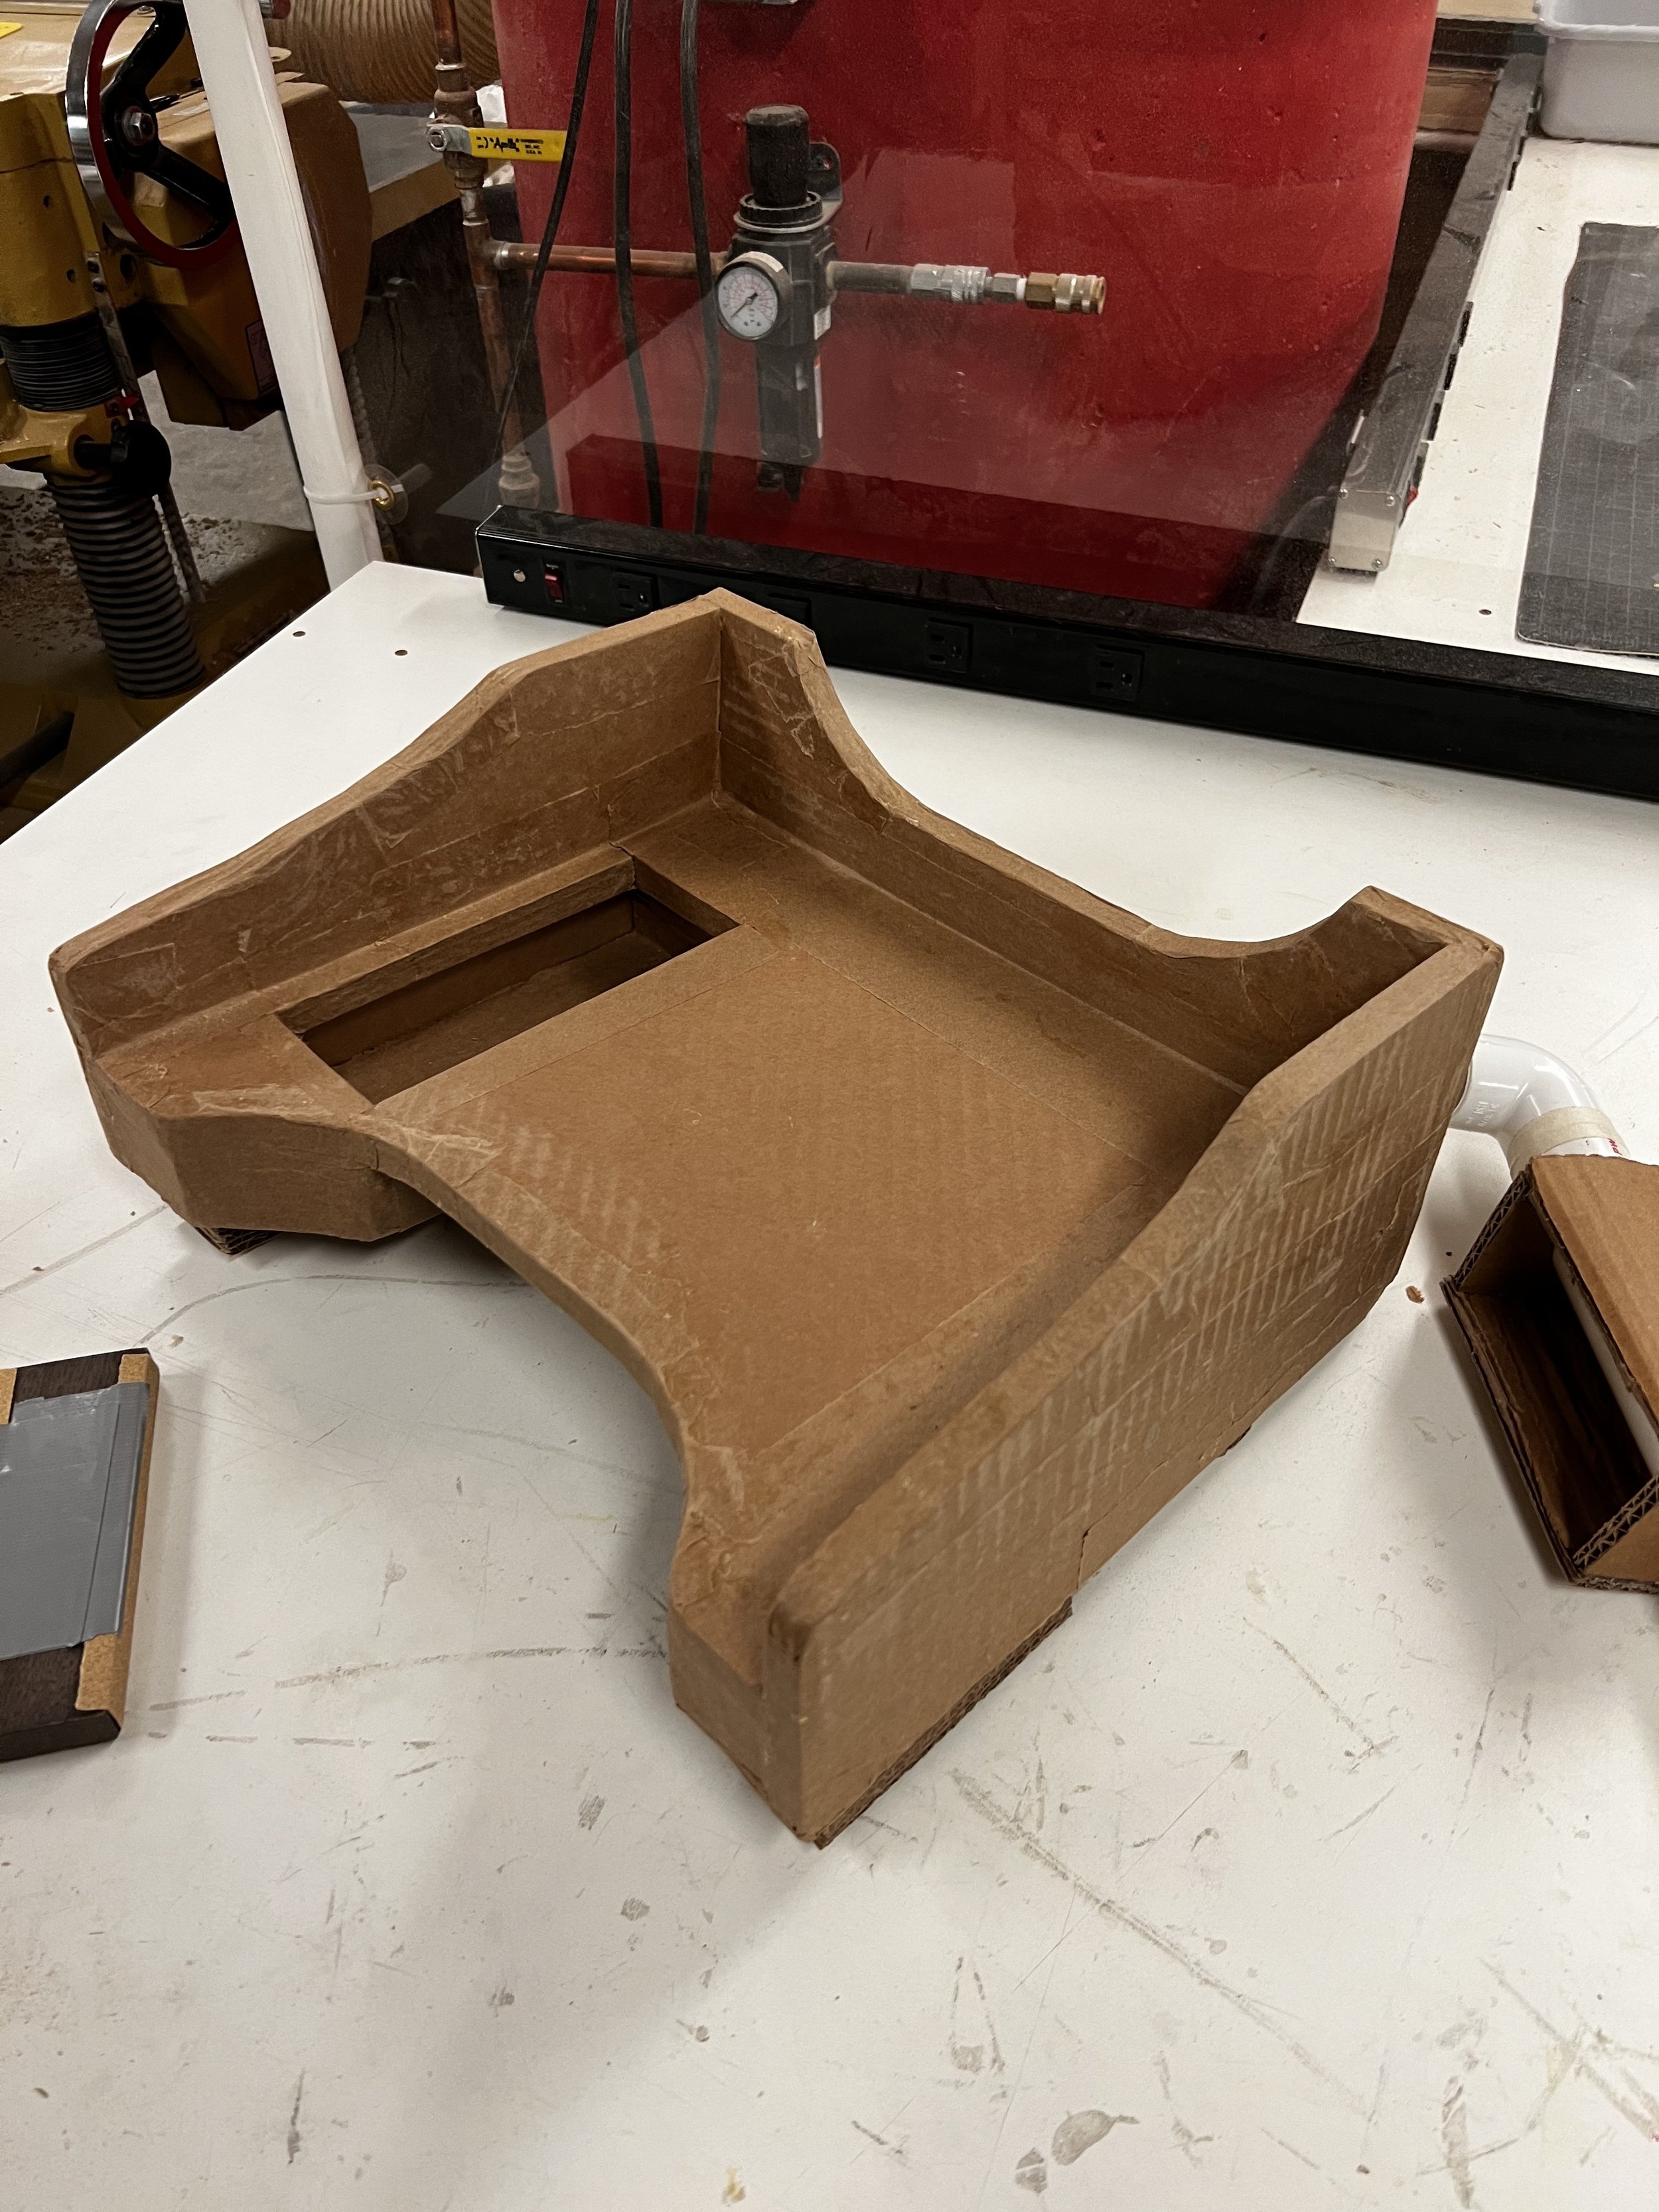
Began to really finalize our overall form. Connecting all of the parts with joints, glue, and screws. After putting everything together and making sure our model was cohesive, we began to start edging the model. Using the techniques taught to us by Professor Fathers and Lisa to create a flush finish. It is amazing to see what this stage can do for your model visually. the finishing process transforms cardboard into something more.
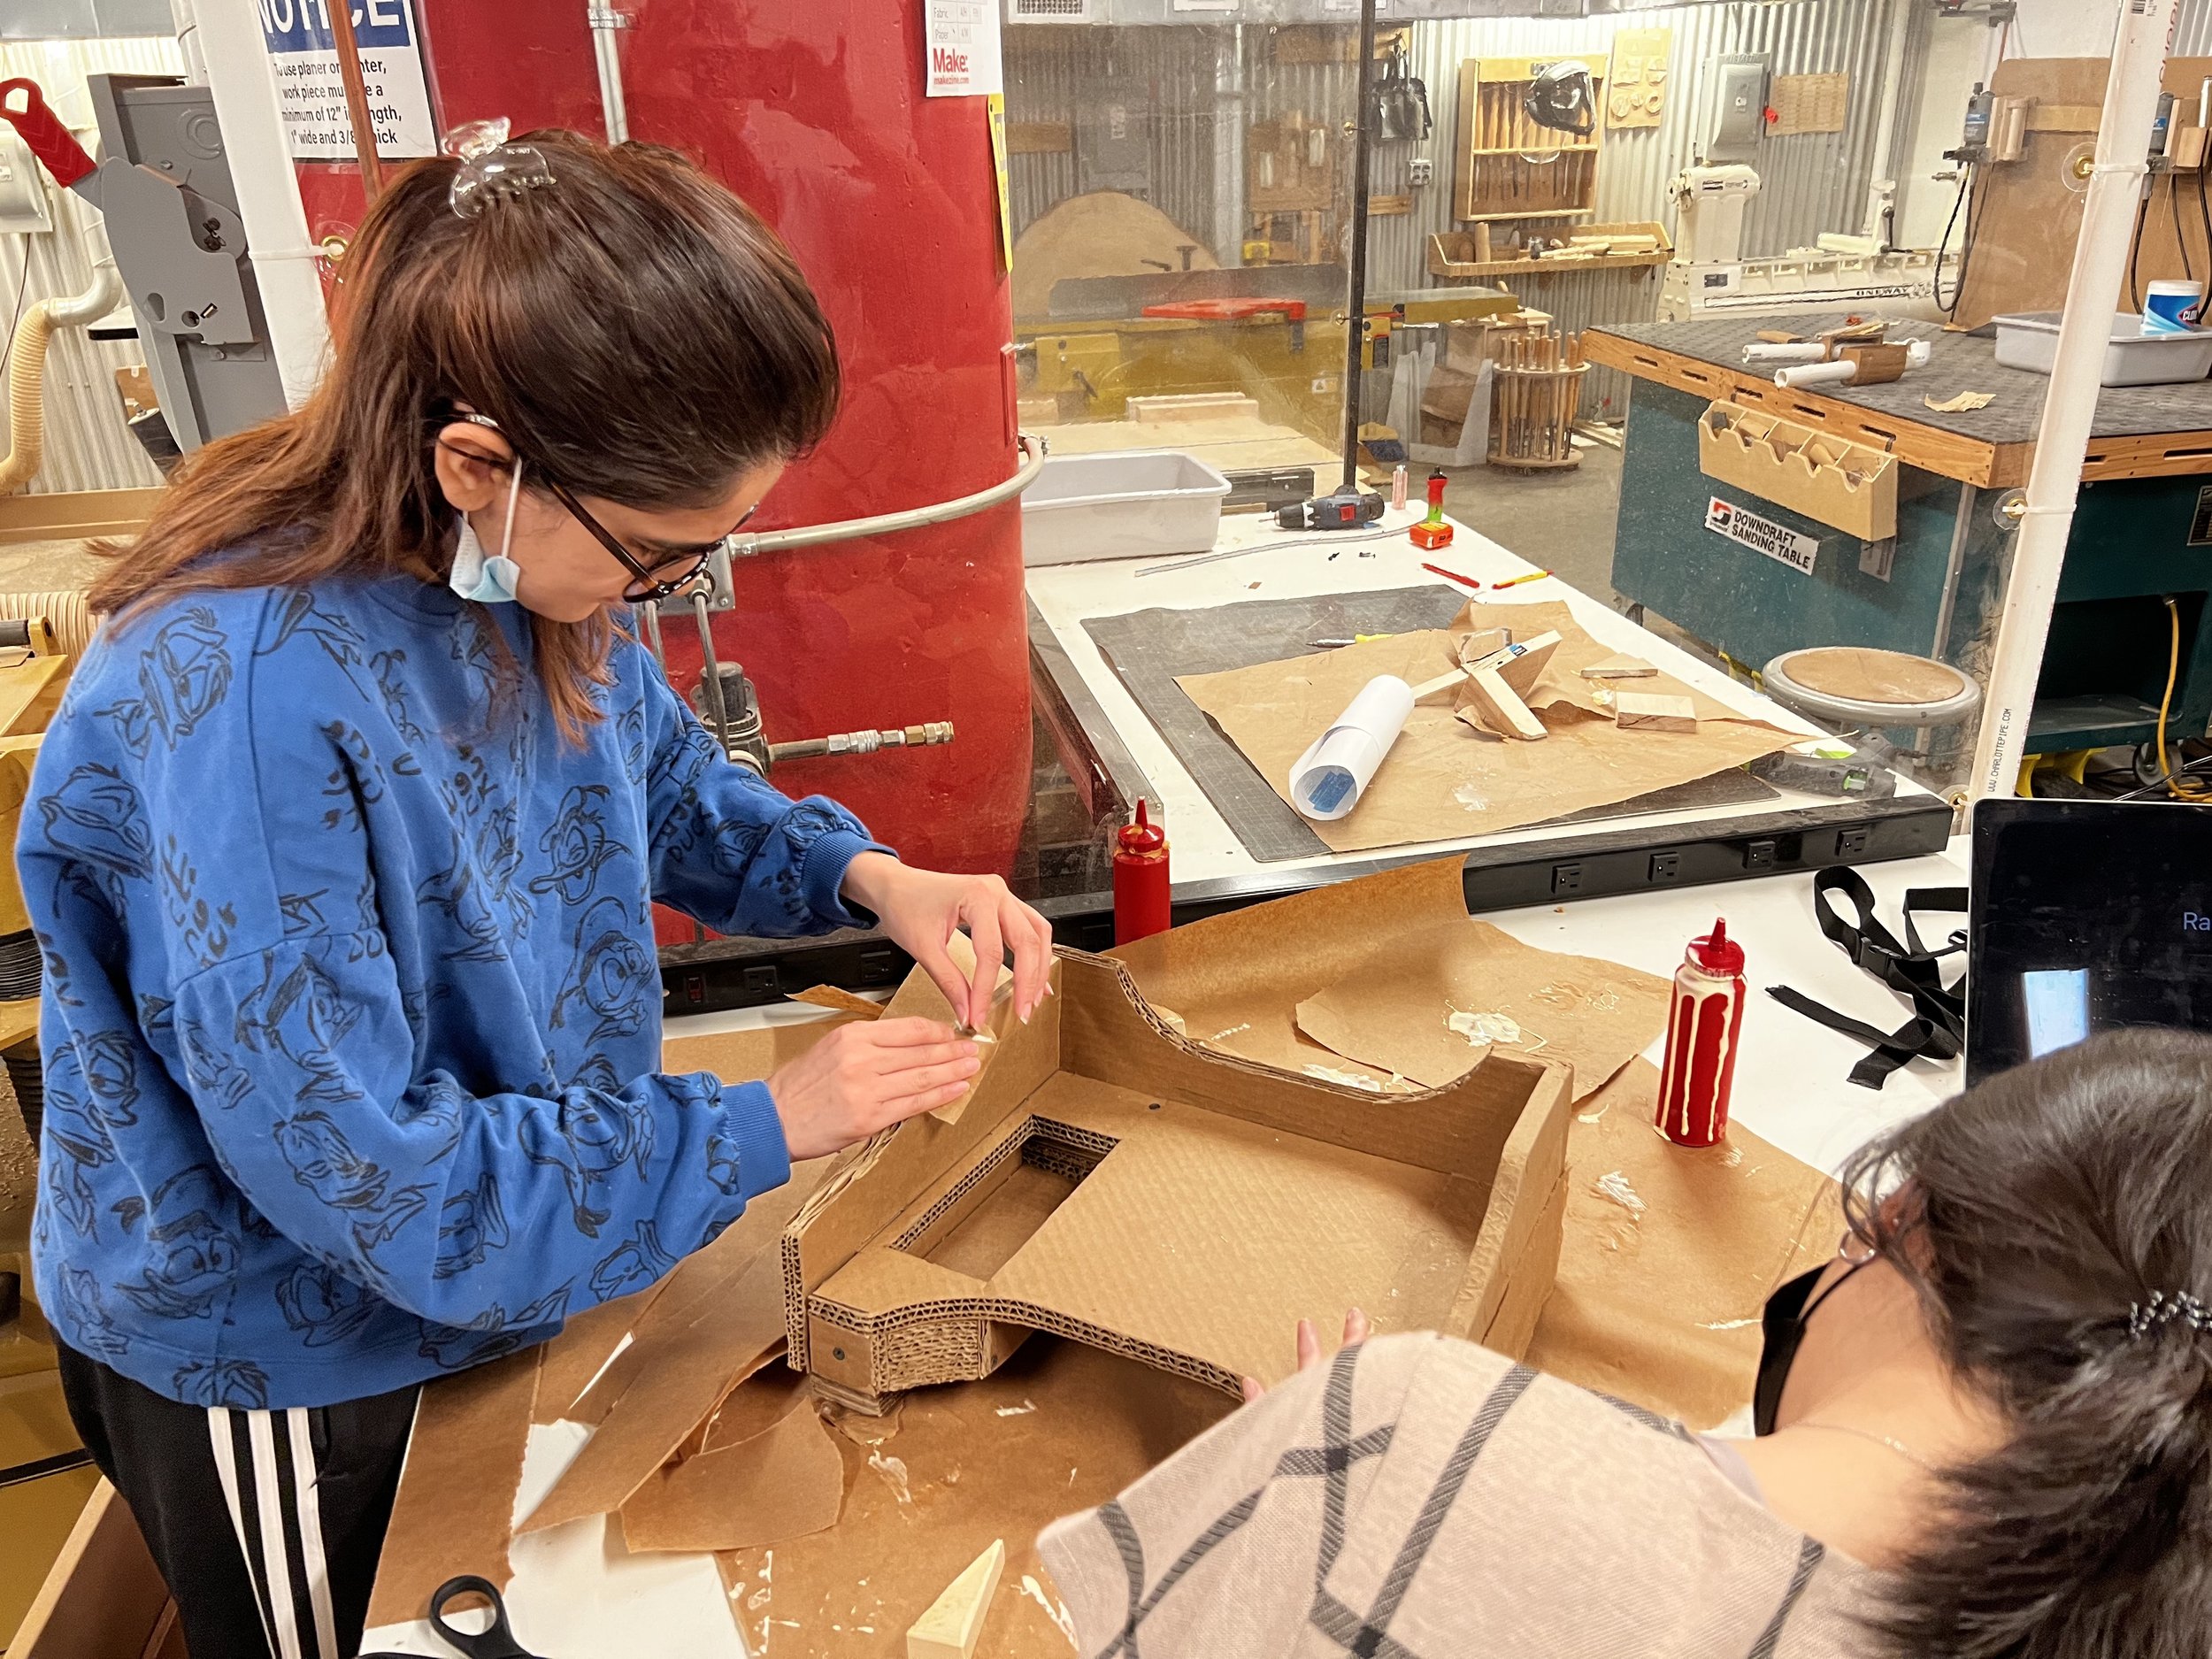

During our time with Landen, he shared his love for Power Rangers. We wanted to really customize this toy tray to resemble his personality as well as possible. One of the big things that I have taken away from this class is how a design can change someone’s way of life. In Adaptive Design it takes more than just the designer to create something that fits the user. It takes a team, the parents, the user, and to clinical professionals. All team members bring a unique perspective on the situation, which allows for a combination of these thoughts using co-design.